How-to
Turn a Photo Into Outlines for Tracing
A photograph is full of tone. A line drawing is not. Outline Studio reduces the picture to its edges, so you can see the shapes you are actually going to draw instead of guessing where one form ends and the next begins.
Open Outline Studio in the Effects tab
Load your reference, then switch to Effects. Outline Studio is what that tab contains, and it works on a copy, so your original image stays as it was and you can remove the outlines whenever you like.
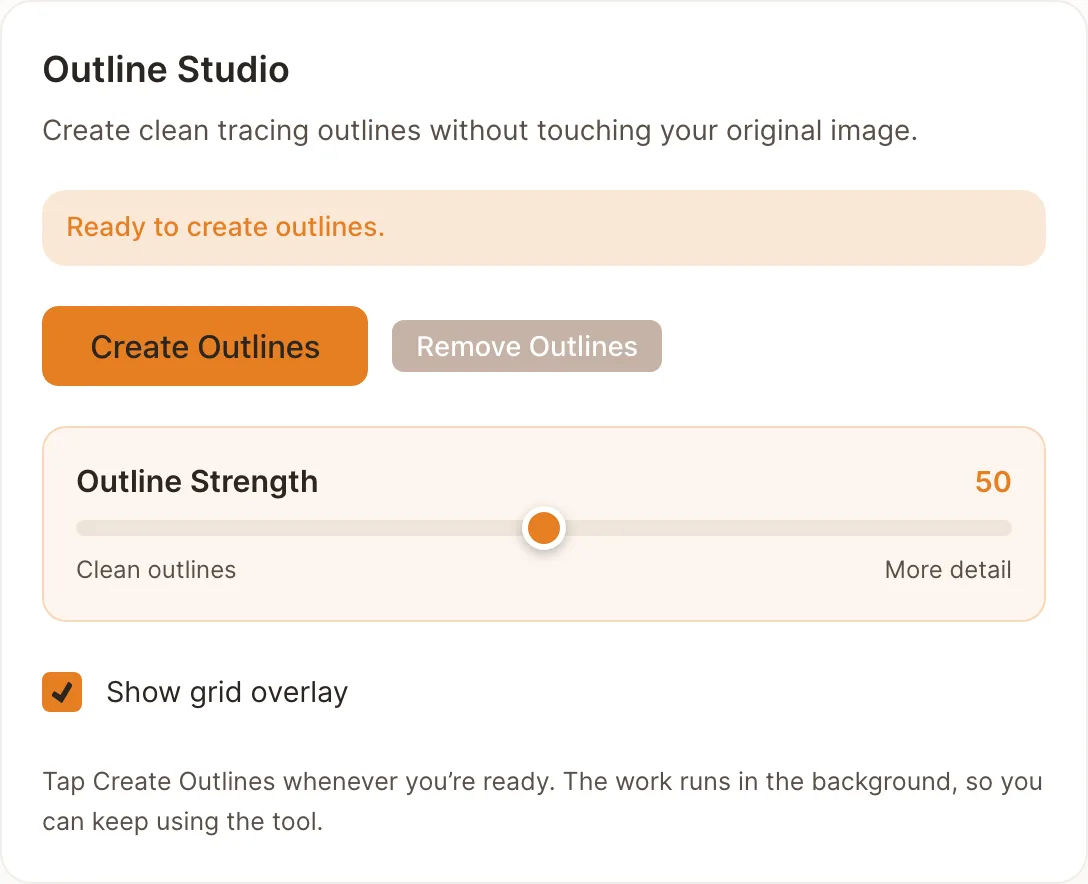
Create, remove, and one slider. Strength decides how much detail survives. Set the strength for the subject, not the taste
The slider runs from clean outlines to more detail. Low values keep only the strong boundaries, which suits portraits and simple forms. High values keep texture such as hair, foliage and brickwork, which is what you want for a landscape and a mess on a face.
Create, look, adjust
Press Create Outlines. The work runs in a background thread, so the rest of the tool stays responsive, though the outline controls grey out until it finishes. If the result is too sparse or too noisy, move the slider and create again. Remove Outlines puts the photograph back.
Keep the grid on while you judge it
The grid overlay toggle lets you see the cells over the outlines. That is the combination worth exporting: a line version of the reference with the same cells as the grid on your paper, which is much easier to copy square by square than a full-tone photograph.
Outline your own reference
Drop a photo below. The tool opens and points you at the Effects tab.
Frequently asked questions
- Is my photo uploaded to make the outlines?
- No. The processing runs in your browser on your own machine, and the image never reaches a server. A very large photo takes a moment, and the panel tells you while it is working.
- Which strength should I start with?
- Start in the middle and move from there. If faces come out scribbled, go lower. If a landscape comes out as a few bare lines, go higher. The right value depends on how busy the photo is, not on the subject being important.
- Can I get my photograph back?
- Yes. Remove Outlines restores the original image. Nothing about the file on your computer changes at any point.
- Why do my outlines look noisy?
- Usually the photo, not the setting. Compression artefacts, high ISO grain and busy backgrounds all read as edges. A lower strength suppresses most of it, and a cleaner or better lit reference does more than any slider can.