How-to
Draw in Perspective From a Photo
Perspective is one rule: lines that are parallel in the world converge in a picture, and where they would meet is a vanishing point. This walks you through finding those points in your own photograph, laying a grid on them, and drawing along it.
Open Perspective from the canvas toolbar
Load your reference, then press Perspective beside Crop. The controls appear in the panel on the right and the guides appear over your picture. They are drawn on top of it, so the photograph and any grid you already set up stay exactly as they were.


Perspective sits beside Crop, and turns orange while it is the panel on the right. Pick the view you were standing in
Not the one that looks most impressive. If you faced a wall or looked straight down a street, that is one point. If you stood at the corner of a building so neither wall faced you, that is two. If you tilted the camera up at a tower or down into a stairwell, the uprights converge as well and that is three. Four is for very wide views where straight edges visibly bow.
Three point deliberately draws no vertical guides. In a three point view nothing is vertical, and a guide pretending otherwise would be the most misleading line on the page.
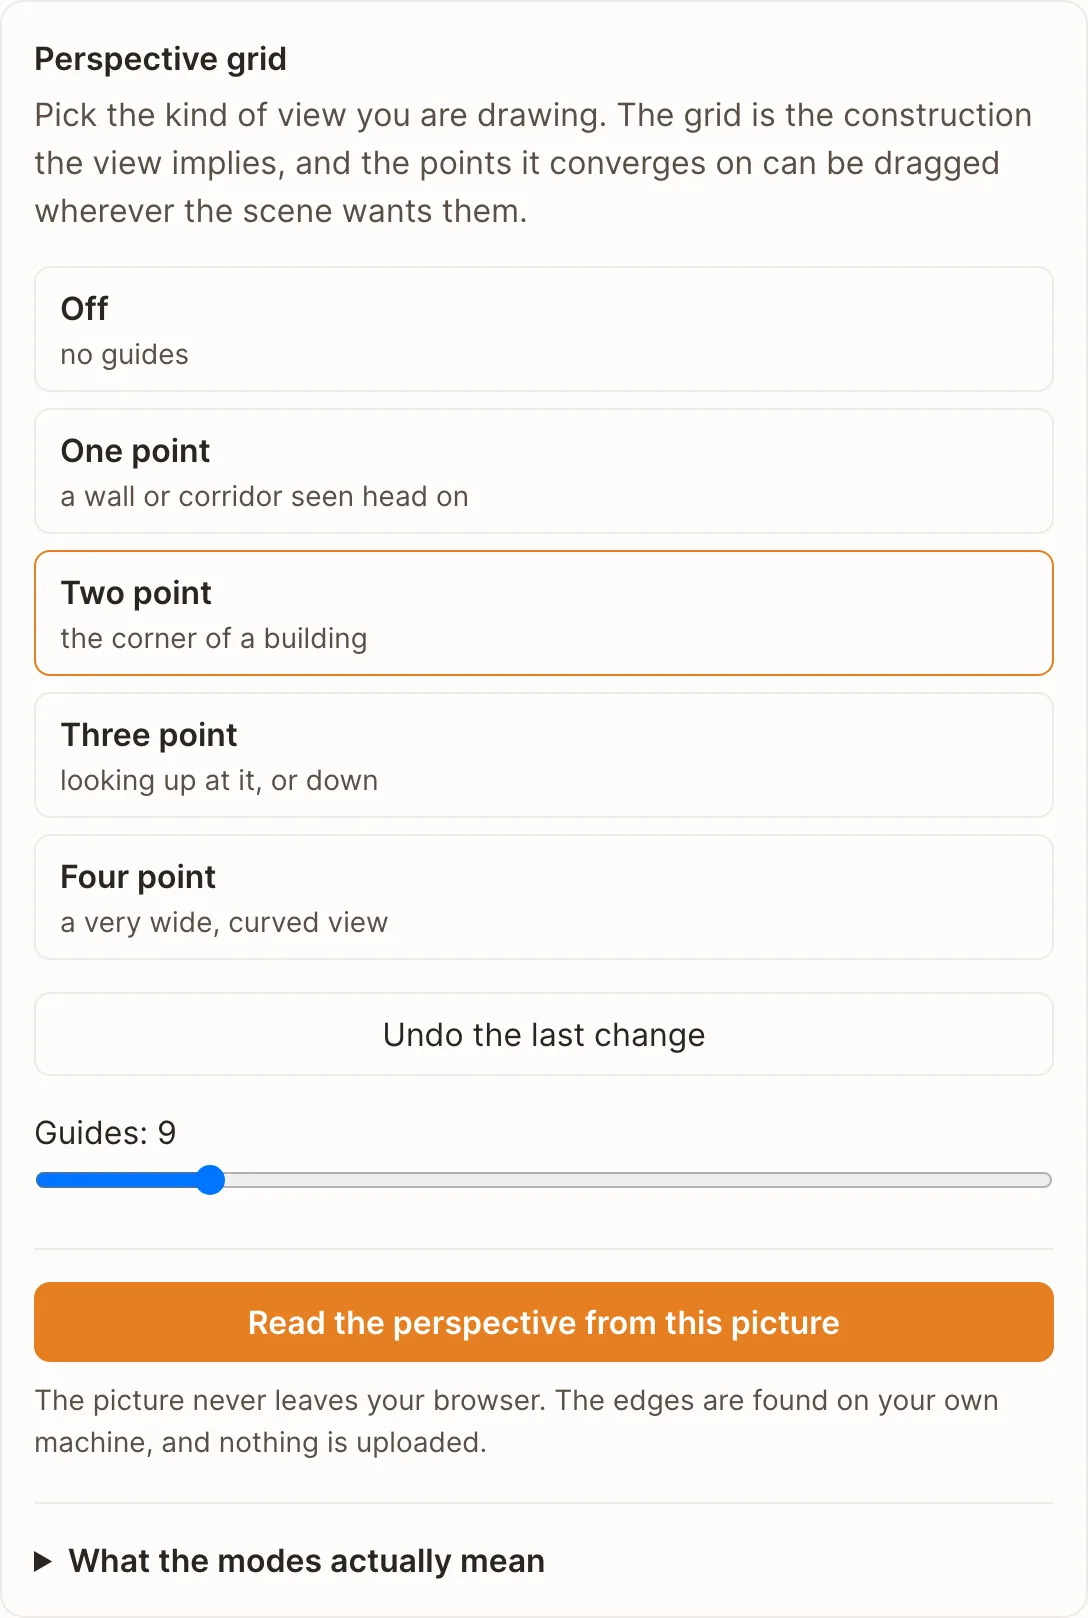
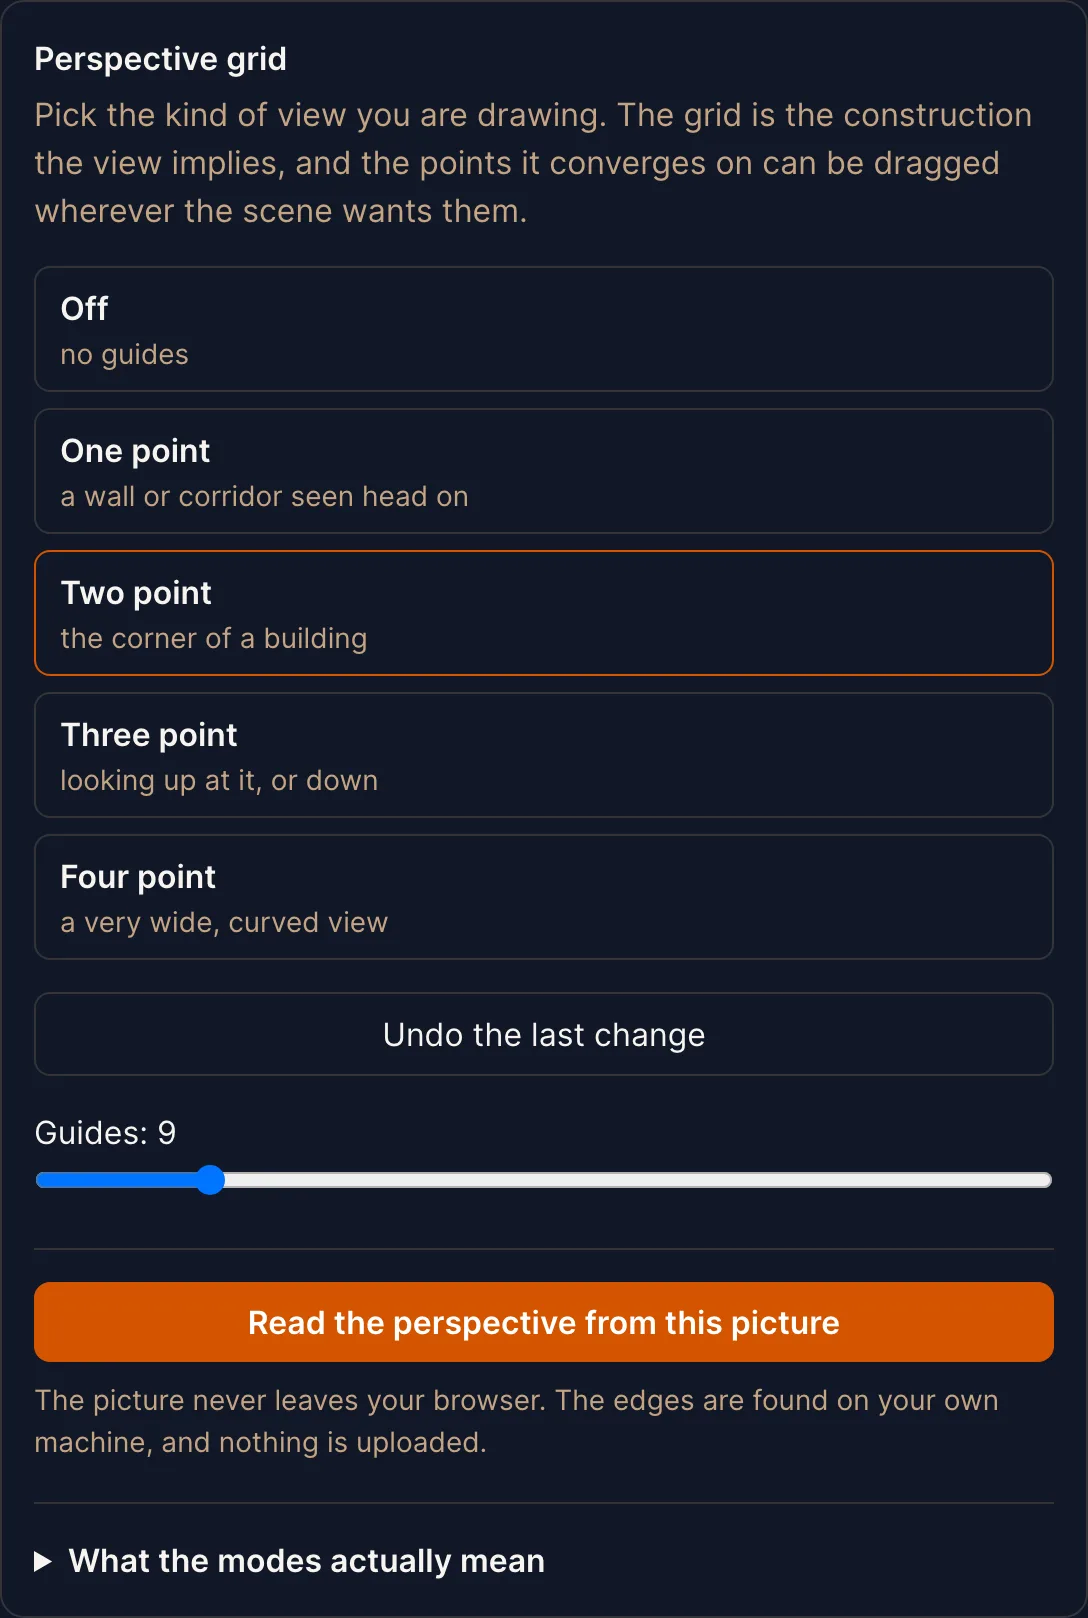
Each mode is named by where you were standing, because that is what decides it. Let the tool read the points out of the photo
Press Read the perspective from this picture. It finds the straight edges in your photograph and works out where each family of them converges. Buildings, streets and rooms give it plenty to work with.
A portrait or a wood gives it very little, and the figure says so. Measured on two portraits: one point came back at thirty-six and at forty-six percent, and two point declined outright, because a second direction was never there to find. A low figure is the reading telling you the picture had almost nothing to measure, which is worth knowing before you draw along it.
Everything happens on your own machine. The picture is never uploaded, which is also why this still works with the window offline once the page has loaded.
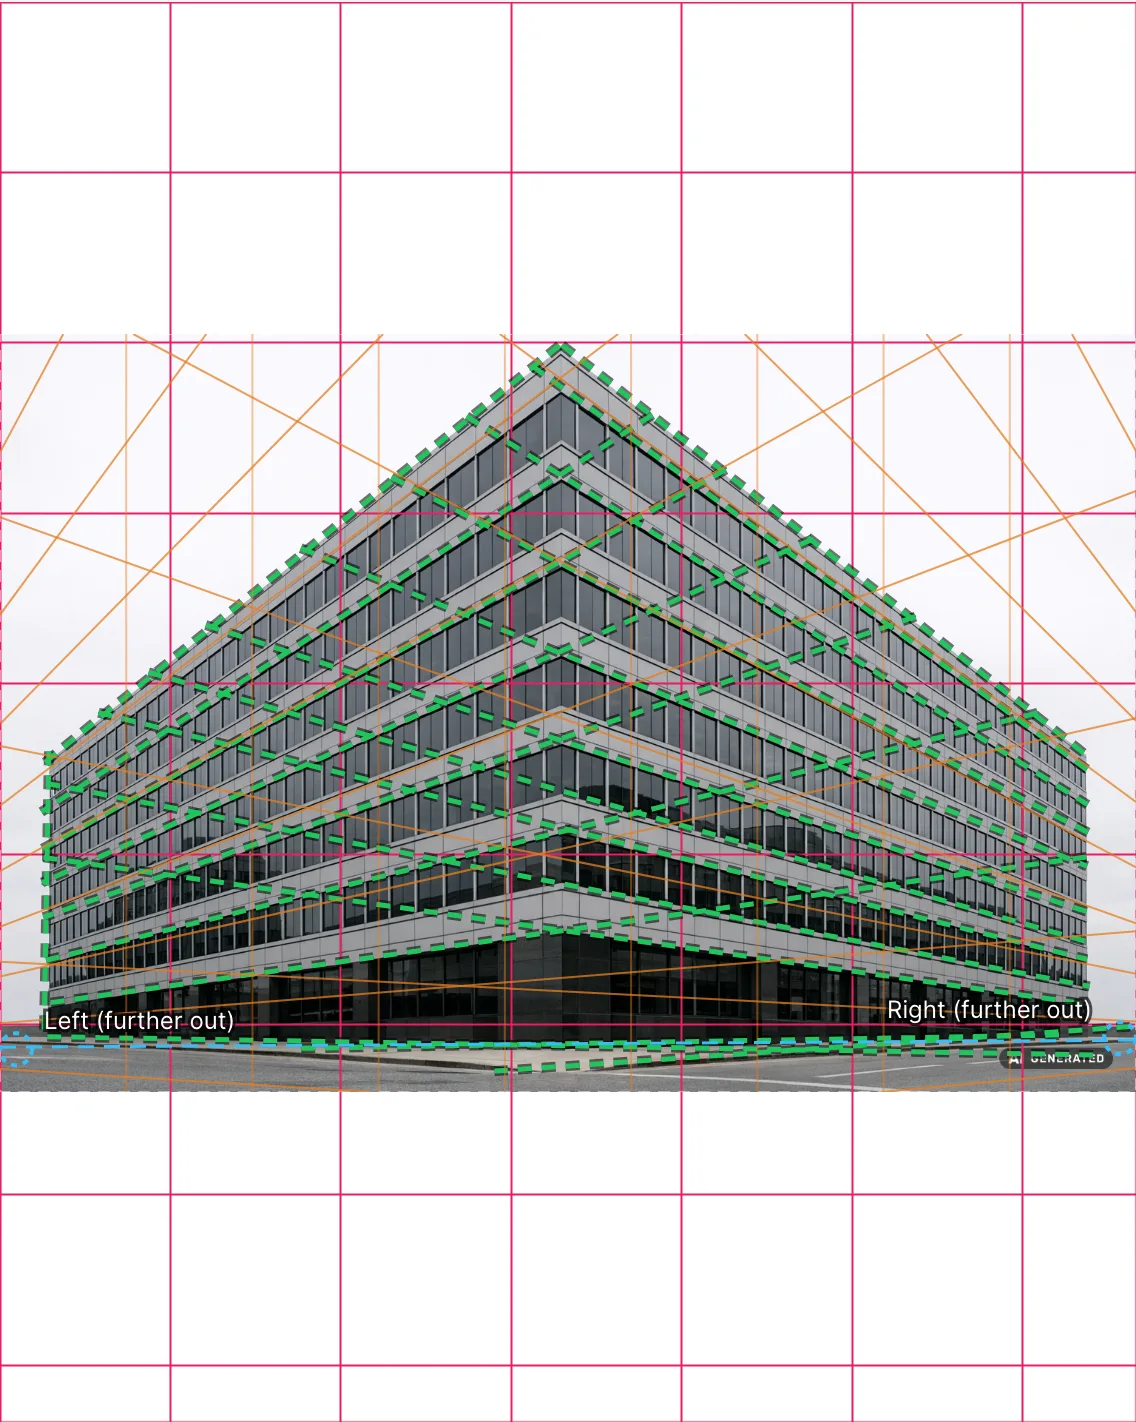
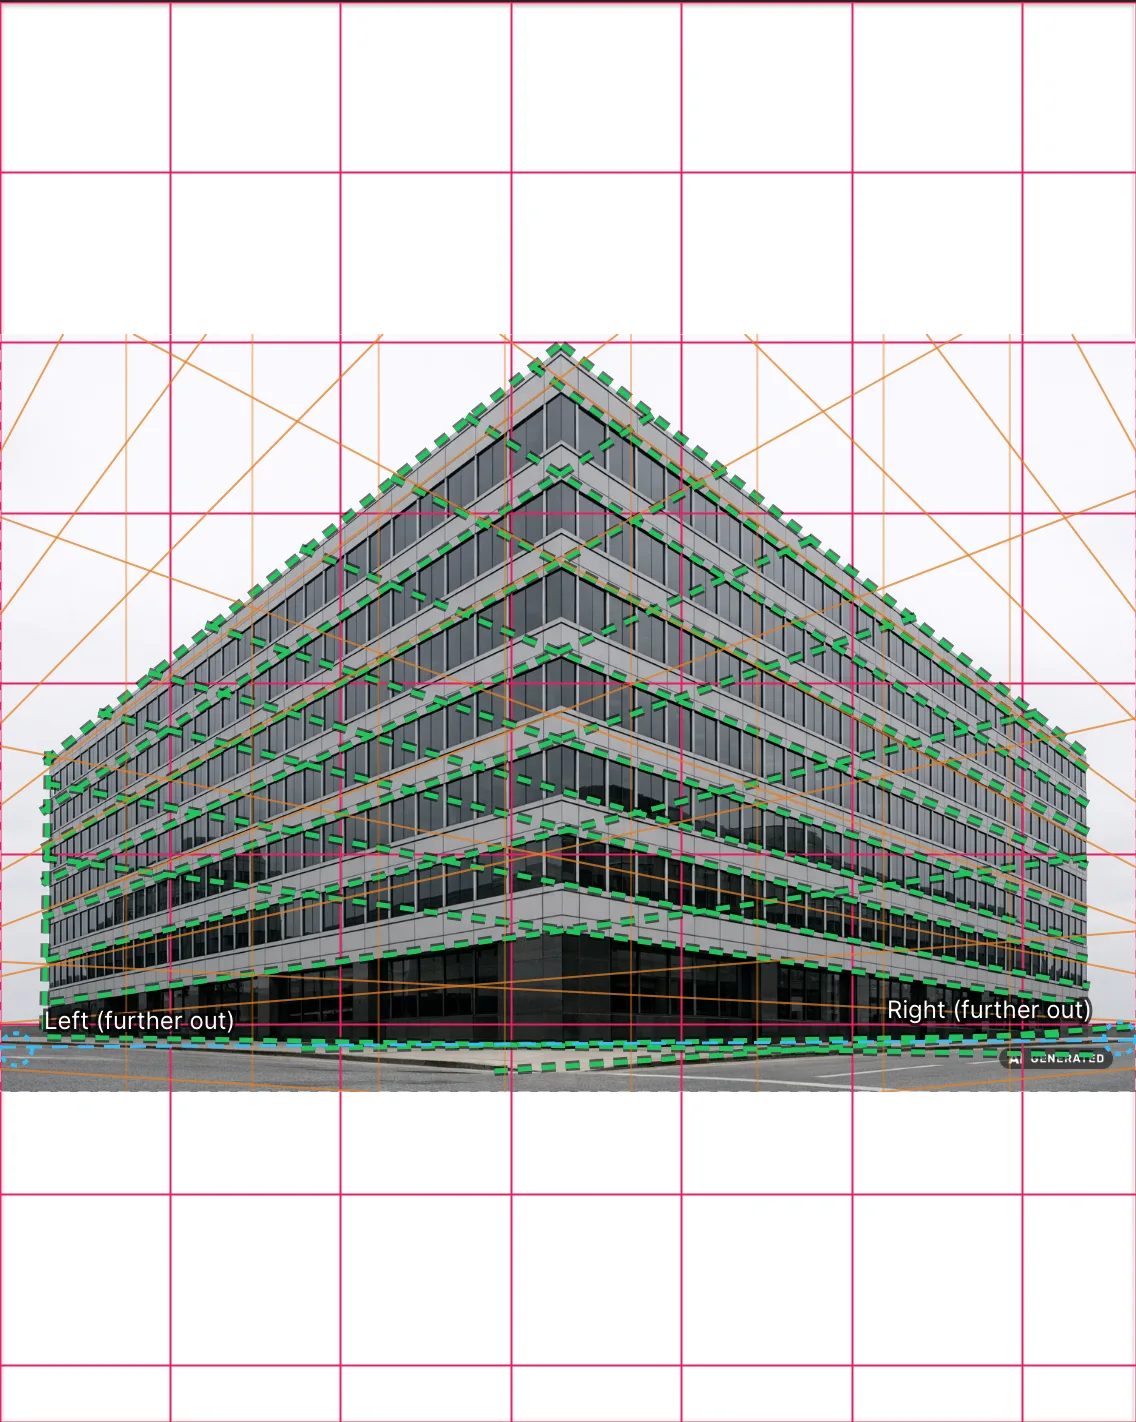
The green dashes are the edges it found. They lie along the floor bands, which is how you know the answer is sound. Judge the reading instead of trusting it
Three things are reported, and each answers a different question. The percentage is how much of what it found the grid accounts for. The second figure is how many edges the thinnest direction rests on, because ten edges and ten is a firmer answer than seventeen and three. The angle of view is what the two points imply about the camera: if you know you shot at a wide angle and it says a long lens, the reading is describing something other than your building.
Then look at the green edges themselves. If they lie along the floor bands and the roofline, the grid is right. If they lie along a tree in front of it, you now know why the answer was odd. Switch them off when you have seen enough.
Adjust the points until the guides sit on the subject
Drag a vanishing point and watch the whole fan turn with it. Two or three guides lining up with real edges is enough to fix the rest.
A vanishing point usually lies outside the picture, often far outside, so its handle is pinned to the edge of the frame and marked as being further out than it looks. Select it and use the arrow keys: one press moves it a pixel, and holding shift moves it ten. That is the way to set a point you cannot reach with the mouse.
Anything can be taken back. Reading the picture, switching mode and moving a point are each one step, and a whole drag counts as one step rather than one per pixel.
Draw along it, and take it with you
The guides go wherever you look at the picture: the workspace, fullscreen, and every export. So the sheet you print carries the construction and not only the measurement grid, and you can work from paper with the perspective already on it. The green edges stay behind, because those are working notes rather than part of the drawing.
Try it on your own photograph
Drop a picture below. A building, a street or a room works best. Then press Perspective in the toolbar.
Frequently asked questions
- Is my photo uploaded to find the perspective?
- No. The edges are found and the vanishing points worked out on a canvas in your own browser, which is why it still works with the window offline once the page has loaded. Nothing about the picture reaches us or anybody else.
- Which mode should I choose?
- The one that matches where you stood. Facing a wall or looking down a street is one point. Standing at the corner of a building, looking level, is two. Tilting the camera up or down adds a third point, because the uprights then converge as well. Four is for very wide or fisheye views, where straight edges visibly bow.
- It says my uprights are parallel. What did I do wrong?
- Nothing. It means you held the camera level, and a level photograph is a two point view: there is no third point to find because the uprights really are parallel in it. Switch to two point and the grid will fit.
- Why can I not drag the vanishing point where I want it?
- Because it is further out than the picture can show, so its handle waits at the edge of the frame and is marked as such. Select the handle and use the arrow keys instead: one press moves the point a pixel, shift moves it ten, and it works wherever the handle is sitting.
- How accurate is the reading?
- It is a starting point rather than a measurement. On test pictures whose vanishing point is known in advance it recovers that point to within a few percent of the picture diagonal. On your photograph there is nothing to check it against, which is why it reports what it rests on: the share of edges the grid accounts for, how many edges its thinnest direction has, and the angle of view the answer implies.
- Do the guides appear in what I print?
- Yes. The grid is drawn into the workspace, into fullscreen and into every export, so a printed sheet carries the construction as well as the measurement grid. The green edges from the reading do not: those are working notes for the screen.
Next
The perspective grid has a page of its own, with the geometry behind each of the four modes and where the horizon goes in each, and the perspective overview in Learn takes each view apart with a construction you can drag. If your photograph of a drawing arrived as a trapezoid rather than a rectangle, that is a different problem with its own tool: perspective correction lays the sheet flat again.