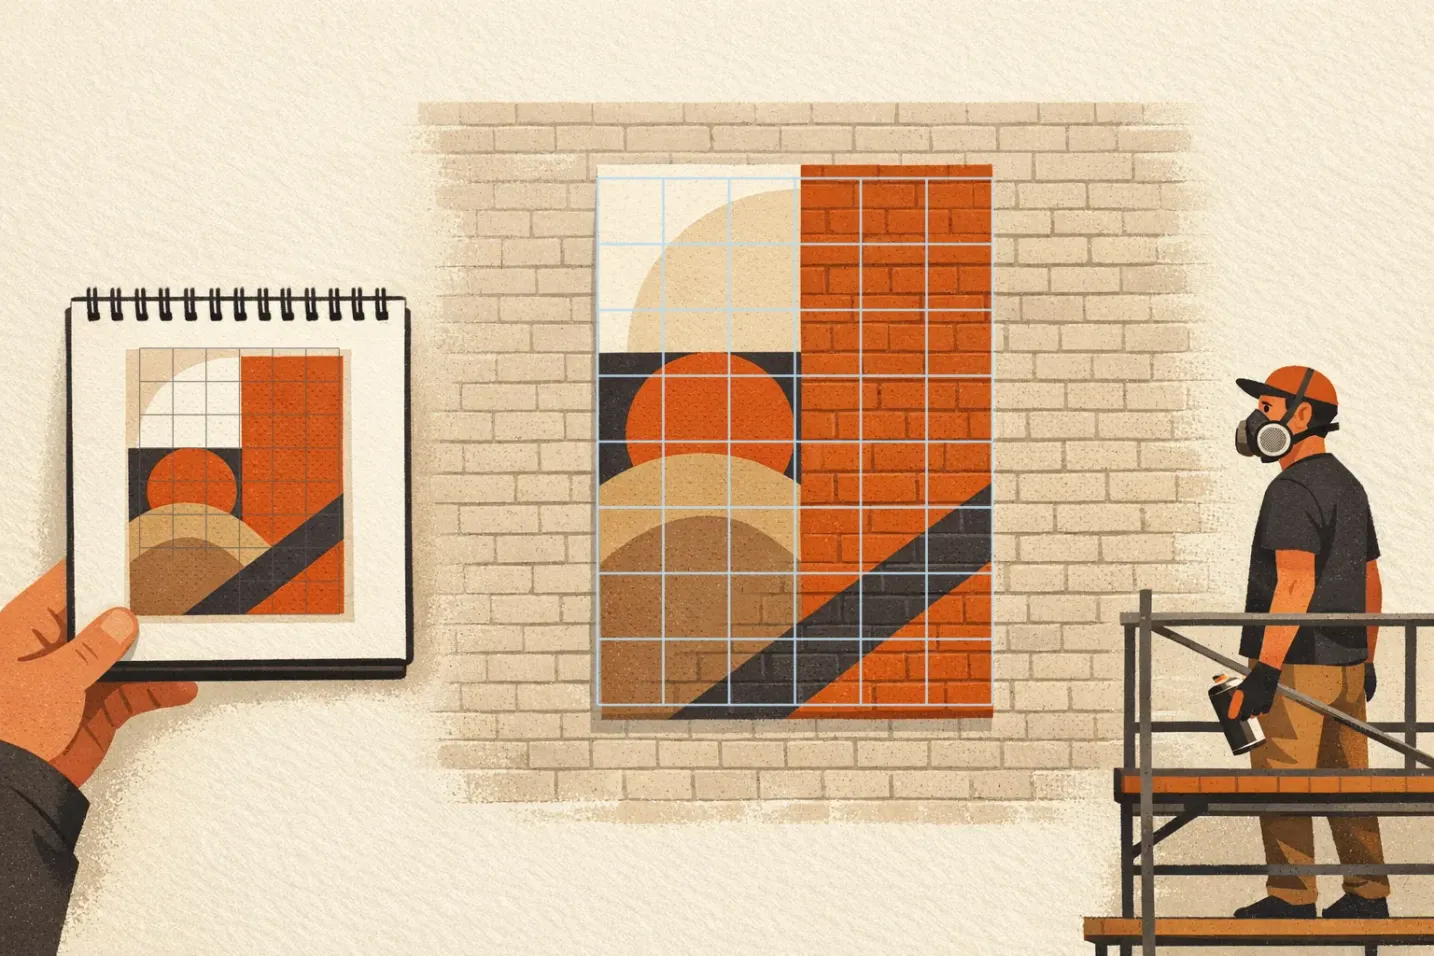

A sketch becomes a mural through one number: the enlargement factor. This guide works two real scaling problems end to end, then covers grid square size, squaring a wall you have permission to paint, and marking accurately on brick, concrete and metal.
The Only Number That Matters: The Enlargement Factor
Everything in a grid transfer follows from a single multiplier. If the factor is x24, every length in the sketch (a grid square, the width of a nose, the gap between two letters) is multiplied by 24 on the wall. There is no second calculation.
Work it out by dividing wall by sketch in the same unit:
factor = wall dimension ÷ sketch dimension (same unit on both sides)
Factors are written here as x24, x18, x12, where x24 means twenty-four times larger. Avoid colon notation (1:24): architects, model makers and printers all read it in different directions, and a crew that misreads it once loses a day.
Worked Example 1: An 11 x 14 in Sketch onto a 22 x 28 ft Wall
This is the case every muralist hopes for, because the numbers land clean.
- Sketch: 11 x 14 in (28 x 36 cm)
- Wall: 22 x 28 ft (6.7 x 8.5 m)
Convert the wall to inches so both sides match: 22 ft = 264 in, 28 ft = 336 in.
- Width factor: 264 ÷ 11 = x24
- Height factor: 336 ÷ 14 = x24
Both dimensions give the same factor, which means the aspect ratio matches exactly and nothing has to be cropped or padded. Now the grid:
A 1-inch square on the sketch becomes a 2-foot square on the wall (1 in x 24 = 24 in = 2 ft / 61 cm). That single sentence is the whole transfer. You never convert again; you just ask "which 2-foot square am I standing in front of, and what is in the matching 1-inch square on my sketch?"
The grid is 11 columns by 14 rows: 154 squares in total. Label the columns A to K and the rows 1 to 14, and every square on the wall has an address that matches a square on the paper in your pocket.
Worked Example 2: A 9 x 12 in Sketch onto a 15 x 23 ft Wall
Real walls rarely cooperate. Here the sketch is 9 x 12 in (23 x 30 cm) and the available wall is 15 ft wide by 23 ft tall (4.6 x 7.0 m). The sketch is proportionally wider than the wall, so the two dimensions will not give the same factor.
Convert: 15 ft = 180 in, 23 ft = 276 in.
- Width factor: 180 ÷ 9 = x20
- Height factor: 276 ÷ 12 = x23
The smaller factor wins. At x23 the design would be 207 in (17 ft 3 in) wide on a wall that is only 15 ft wide, so it would run off both edges. At x20 the mural is 15 ft wide and 20 ft tall, leaving 3 ft of wall unused at top or bottom.
But x20 is an awkward factor to mark. A 1-inch sketch square becomes 20 inches, so the wall grid lines land at 1 ft 8 in, 3 ft 4 in, 5 ft 0 in, 6 ft 8 in — arithmetic on every single line, on a ladder, in the wind.
Two ways out, both legitimate:
Option A — drop to x18 and buy a clean grid. At x18 a 1-inch sketch square becomes 18 in (1 ft 6 in / 46 cm), so the lines fall at 1.5, 3.0, 4.5, 6.0 ft and so on. The mural becomes 9 x 18 = 162 in = 13 ft 6 in wide and 12 x 18 = 216 in = 18 ft tall (4.1 x 5.5 m). That leaves 1 ft 6 in of spare width (9 in on each side) and 5 ft of spare height, which you spend deliberately: a 3-foot base band above the pavement, where splash and scuffing do their damage anyway, and 2 ft of clearance at the top. The grid is 9 columns x 12 rows = 108 squares.
Option B — keep x20 and cut a story stick. Cut one straight batten to exactly 20 in and step it along the baseline, marking at each end. You never read a tape and never do the arithmetic; the stick carries the unit for you. What it does do is accumulate error, because stepping a batten is relative measurement: a stick 1/16 in short leaves you 9/16 in out by the ninth column and three-quarters of an inch out by the twelfth row. Check every fifth interval with a tape run from the start of the baseline, not from the previous mark.
Either answer is correct. The mistake is discovering the problem at the top of a ladder rather than at the kitchen table.
Area Scales with the Square of the Factor
At x24 every length is 24 times bigger, but every area is 24 x 24 = 576 times bigger. The 11 x 14 in sketch covers 154 square inches; the finished mural covers 616 square feet (57 m²). Paint, primer and hours track area rather than length, so doubling the factor does not double the job, it quadruples it.
Buy the respirator with the paint, not after it. Spray and solvent-based wall paint puts out vapour as well as mist, and a dust mask or an N95 stops only the mist. You want a half-face respirator with organic-vapour cartridges and a P100 filter, and fresh cartridges rather than the ones that have been in the bag since last summer. Outdoors is not ventilation when you are working into a corner or under an overhang.
The arithmetic and the area consequences are worked through properly in scaling a study to a wall; this page picks up where that one stops, at a wall that is not yours and not flat.
Before the Grid: Permission Is Not Optional
Marking a wall you do not own and have not been given permission for is a crime everywhere worth painting: vandalism or criminal mischief in most of the US, criminal damage in the UK, with the threshold between a fine and a felony usually set by the cost of putting it right. How good the result is has never been a defence. Owners can also pursue removal costs that dwarf the paint bill, and grid work raises your exposure rather than lowering it: squaring and chalking a 20-foot wall is hours of conspicuous, ladder-bound activity.
Where to find walls you are allowed to stand in front of:
- Permission walls, also called free or legal walls. Municipalities, skate parks and some landowners allow painting by standing consent. Read the posted terms first: some require registration, some rotate the surface on a schedule, some rule out certain content.
- Direct commissions. Get it in writing: which wall area, which dates, who approves the design, who owns the artwork, and what happens if the building is sold. Confirm the signatory controls the building, because a tenant frequently cannot authorise the facade.
- Community mural programmes and arts councils. They usually hold the permits, the site agreement and the liability cover, and they are the usual route to a large wall for someone without a track record.
- Businesses with their own frontage. Cafés, garages and small shops often own the wall they trade behind, and a proposal with a sketch and a scale plan beats a description.
Two extra checks: heritage-listed buildings can require local-authority consent even when the owner is enthusiastic, and some jurisdictions treat large painted imagery as signage if it advertises a business.
How Big Should the Wall Squares Be?
Grid density is a trade-off, not a rule. Smaller squares catch drift early and cost time on a ladder; larger squares go up fast and hand more to your freehand, which suits bold shapes and punishes lettering. Three constraints settle it.
- Reach. Ideally you can complete one wall square without repositioning the ladder or lift. The honest version of reach depends on what you are standing on. On a ladder it is narrow: keep your belt buckle between the rails and climb down to move rather than leaning, which is the commonest way muralists fall, so a ladder really only gives you a square about as wide as your shoulders. A scaffold tower or a boom lift gives you the full 3 ft arc, and above 10 ft on a tower you want guardrails or a harness; in a boom lift you clip on every time, at any height.
- Sketch legibility. Below roughly 1/4 in (6 mm) the sketch grid starts competing with the drawing in dense areas. That is a floor on the sketch square, and the factor converts it into a floor on the wall square.
- Marking time, which follows from the square size. On the 22 x 28 ft wall, 2-foot squares give 154 cells and a morning of marking, 1-foot squares give 616 cells and a full day, and 4-foot squares give 42 cells that snap fast and demand a lot of your freehand. That last option also leaves a half-width column, because 22 does not divide by 4: a square size that divides both wall dimensions saves you a ragged edge.
Densities can be mixed: a coarse master grid for placement, subdivided only over a face, a hand or a run of text. Splitting a 2-foot square into four 1-foot squares is one extra line each way.
Set the cell size directly in the grid maker so the sketch squares already match your factor, or generate one with our grid for drawing. GridMyPic's Print Poster export then tiles that gridded reference across several sheets with overlap marks, which beats working off a phone screen in direct sunlight.
Squaring the Wall Before You Mark It
Square the wall you are going to paint, which is the primed one, not the one you found. Wash it down first, scrub off any white salt bloom with water and a stiff brush, patch what needs patching, and let it dry properly: a pressure-washed masonry wall wants days, not an afternoon. Then prime, then snap. A grid chalked straight onto dirty brick comes off with the dirt, and any salt still in the wall pushes your paint back off it a season later.
A grid that is not square is worse than no grid, because it turns a small angular error into an accumulating distortion, and every square you fill makes it more expensive to fix.
The 3-4-5 Triangle
The perpendicular check needs nothing but a tape. The level baseline it starts from does need an instrument, because the pavement rarely is one. Use a rotary or cross-line laser, cheap to hire for a day, or a water level: clear tubing filled with water, accurate over any span because water finds its own level. Do not walk a 4-foot spirit level across 22 ft of wall. That is five measurements stacked end to end, and the baseline inherits all five errors.
- Snap the baseline level, off the laser or the water level.
- From a point A on that line, measure 3 ft along the baseline to point B.
- From A, measure 4 ft in the direction you want perpendicular, to point C.
- Measure C to B. A true right angle reads exactly 5 ft.
- If it doesn't, pivot C until it does. A-C is now square to the baseline.
On a large wall, scale the triangle up to 6-8-10 ft or 9-12-15 ft (2.7-3.7-4.6 m). Half an inch of slop across a 3-foot triangle produces roughly three times the angular error it produces across a 9-foot one, and that angle is multiplied across the full width of the wall.
The Diagonal Check
Once the outer rectangle is marked, measure both diagonals. In a true rectangle they are equal; if they differ, the rectangle is a parallelogram and every interior line inherits the lean, so fix it before you snap one.
This is not a two-minute job for one person. On the 22 x 28 ft wall the diagonals run 35 ft 7 in to corners nearly 28 ft up, so it takes two people with a long tape or one with a laser distance meter. Some rectangles pay you back: the Option A mural at 13 ft 6 in x 18 ft has a diagonal of exactly 22 ft 6 in, and the x20 mural at 15 x 20 ft has a diagonal of exactly 25 ft, because both are 3-4-5 rectangles. A round-number diagonal makes an error announce itself.
Chalk Lines and the Two-Person Rule
Over about 20 ft (6 m), a chalk line is a three-hand job: one person on each end pulling it genuinely tight, and a third hand pressing the string flat against the wall at the midpoint so you snap the two halves separately. Lifting the middle and letting go once does not fix a long line, it just moves the sag out to the quarter points, where you are even less likely to spot it. A useful tension check: if you can pull the string more than about 6 in off the wall at the centre, it is not tight enough to snap yet.
Snap each line once, because a second snap almost never lands on the first and leaves you two lines with no way to tell which was right. Chalks sold as permanent, usually red or black, are hard to lift out of porous brick, so use white or blue wherever the mark could show through thin paint. Give major division lines a different colour from the working grid: from a lift 20 ft up, that is what stops you counting from the wrong line. Photograph the finished grid from the primary viewing position before any paint goes on.
Let the Wall Give You the Grid
Urban surfaces already contain straight, plumb, permanent lines. Using them is faster than fighting them.
Counting Brick Courses
Brickwork is a repeating vertical module: brick height plus mortar joint, over and over. Count courses instead of measuring every horizontal line, and take the measurement across a long run. Mark the bottom of one course, count up twenty, measure the total and divide by twenty, so joint variation averages out instead of accumulating. Courses drift on older walls, especially near repairs, so check your counted lines against a level line at each end of the run. Brick texture also throws shadows under raking light that can swallow a chalk line, so mark in the light you will be working in.
Expansion and Control Joints as Grid Divisions
Concrete panels carry expansion or control joints: deliberate straight breaks that let the material move without cracking. They are straight, usually plumb, and already on the wall, so aligning major grid lines to them gives you part of the grid for free. Respect what they are, though. The material moves there, so any element that must stay unbroken across a joint will eventually show it. Put boundaries there, not faces.
Openings, Pipes and Zones
Windows, doors, downpipes and meter boxes rarely arrange themselves conveniently. Rather than force one continuous grid across an interrupted wall, split it into zones: a wall with three windows is often four gridded areas, each squared independently against the same baseline. Keep the factor identical across zones so the design stays proportionally coherent.
Finding the Bumps Before They Find You
Walls that look flat rarely are, and a bow or a patched section will push a chalk line out of true. Stretch a taut string across the wall at several heights and watch the gap: where it opens or closes, the wall leaves the plane. A light held close to the surface and angled across it throws long shadows off irregularities that flat daylight hides, and low morning sun does the same job for free. Note what you find, then pick an answer for each. Let the grid follow the contour where the deviation is small. Bridge a depression with a straight edge and accept that the surface falls away under the true line. Or absorb the feature, so a protruding pipe becomes part of the image.
Metal Surfaces and Thermal Drift
Metal cladding moves with temperature, but check the size of the effect before planning around it. Aluminium grows about 0.023 mm per metre per degree, so 6 m through a 20-degree swing moves under 3 mm, narrower than the chalk line you snapped. Fifteen metres through 30 degrees is nearer 10 mm, worth re-checking against a fixed datum such as a masonry edge before you commit to detail. Corrugated sheet raises a real decision either way: align your vertical grid to the ridges or mark independently and accept the crosstalk. Half-aligning looks like a mistake.
Perspective: When Correct Looks Wrong
Most murals are seen from below and from an angle. A transfer that is geometrically perfect on the wall can still read as distorted from the street, because the top of a tall wall foreshortens. Decide first where the work will be seen from: the pavement opposite, a bus stop, the spot everyone photographs it from. That position defines what "correct" means, not the wall's own geometry. Usually the correction is small: increase the scale slightly toward the top so upper elements are not crushed, and apply it only to what the eye audits closely, which is faces, hands and lettering.
Viewing distance also decides where the effort goes. Beyond 50 ft (15 m) the wall reads as bold shapes and value contrast; under 15 ft (5 m) people inspect the surface, which is why fine work belongs around eye level and not on the top row of squares.
Pre-Flight Checklist
Block the whole wall before you finish any part of it, because a rendered top third above an untouched bottom third tells you nothing about whether the composition works. Everything before that brush stroke condenses to one list.
- Permission in writing, naming the wall area and the dates, signed by someone who controls the building.
- Wall washed, repaired, dried and primed, so the grid goes onto the surface you will actually paint.
- Both dimensions measured, sketch and wall, with the wall measured at more than one height.
- Factor calculated from both dimensions, the smaller one adopted, the leftover wall allocated deliberately.
- Grid square size chosen from reach, sketch legibility and marking time, written down beside the factor.
- Baseline established level with a laser or water level, not parallel to the pavement.
- Perpendicular verified with a scaled-up 3-4-5 triangle, and the rectangle confirmed by equal diagonals.
- Existing wall lines identified and used: brick courses, expansion joints, panel edges.
- Surface irregularities mapped with a string line and raking light.
- Grid photographed from the primary viewing position before any paint.
- Reference marks placed at the wall edges so a faded line can be re-snapped from two known points.
Common Questions About Scaling a Sketch to a Wall
Ready to Try the Grid Method?
Put these techniques into practice with our free grid generator tool—trusted by 170,000+ artists worldwide.
Create Your Grid Now →