See the proportions
Place your drawing next to the reference and compare distances, angles, and negative shapes — train your eye before reaching for the eraser.
Compare & improve
Place your drawing next to the reference and compare distances, angles, and negative shapes — train your eye before reaching for the eraser.
Upload your finished drawing and the original reference to begin. All nine modes — Side-by-Side, Mirror, Squint, Difference, Neon, Multiply, Screen, Outline and Split — plus draggable reference rulers are available once both layers are loaded.
Loading the comparison workspace…
A free online image comparison tool for artists: overlay your drawing on the reference, switch between nine diagnostic modes, and spot proportion errors, off-angle features and missed detail while the work is still fresh.
Side-by-Side, Mirror, Squint, Difference, Neon, Multiply, Screen, Outline and Split — each tuned for a different question you ask your drawing.
Mirror reverses the drawing left-to-right to expose proportion drift. Squint blurs both panes so value masses become legible — two ancient studio tricks, ported to the canvas.
A custom amplified Difference renderer (with sensitivity slider and invert) plus a Neon false-colour map. Subtle errors light up in vivid hues your eye reads instantly.
Drop up to 20 colour-coded guide lines on the canvas — drag the body to pan, drag the endpoints to shorten, lengthen or tilt into diagonals. Lines bake into the exported PNG.
Pan, scale, rotate and flip the top layer to match your reference exactly — crucial when your photo and drawing were taken from slightly different angles.
Send the merged comparison — including any reference rulers — straight into our grid maker for drawing to keep iterating, no re-upload needed.
Four quick steps — start to finish in under a minute.
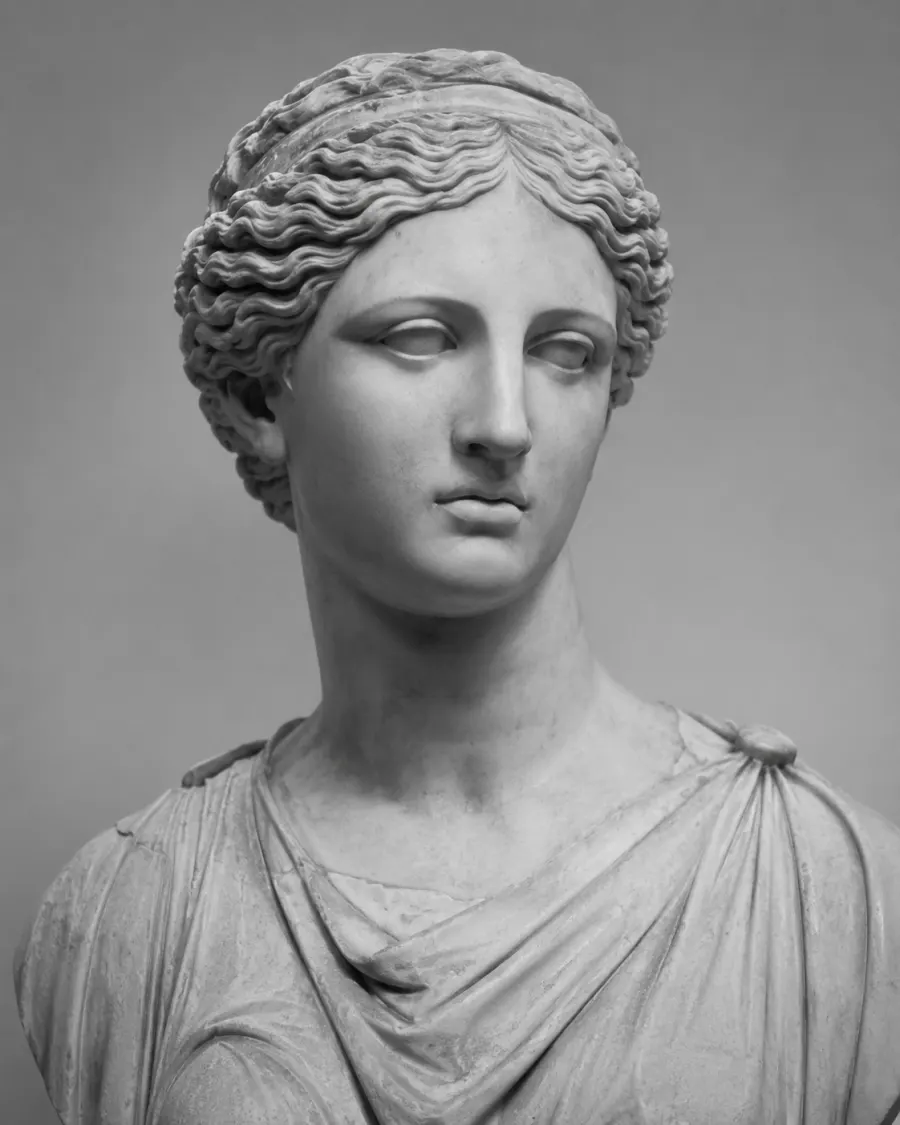
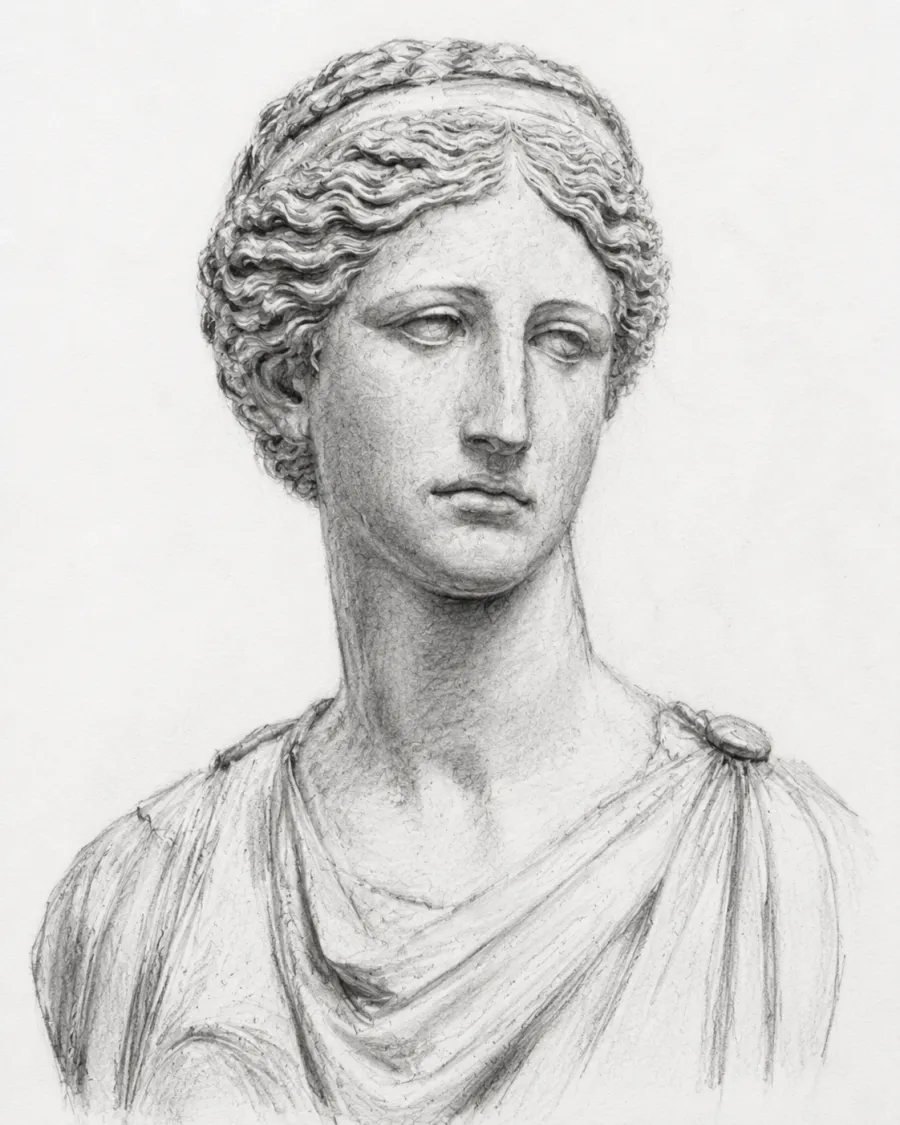
Take a clean photo of your finished sketch or painting (good light, no shadows across the page). Drop the file into the "Your Drawing" panel.
Drop the same image you worked from into the "Reference Photo" panel. The two images don't have to be the same size — we'll handle the alignment.
Drag the top layer to match the reference. Use the corner handles to scale proportionally, the sliders to rotate, and the flip buttons to mirror.
Switch to Difference for an amplified delta map (matches go white, errors go dark), or Mirror / Squint for the classic atelier checks. Drop reference rulers on the eye line, jaw or axis of symmetry. Download the comparison as a PNG to track your progress over time.
New to the technique? Start with our grid maker for drawing to transfer proportions accurately, then come back to verify your result.
Our Difference renderer computes the absolute per-channel delta between drawing and reference, amplifies it with a sensitivity slider (1×–10×), and inverts the result by default — matching pixels become white, errors become dark. The most direct "where am I wrong?" view there is.
For the same information as a colour heatmap, switch to Neon: the magnitude is mapped through a black → cyan → magenta → yellow ramp so subtle errors light up in vivid colour.
Mirror places your drawing next to the reference but flipped horizontally. Your brain has memorised the drawing left-to-right while making it; reversing it breaks the pattern and proportion drift jumps into view. It is the digital version of the classic atelier mirror trick.
Squint shows both images side by side with a Gaussian blur on each. Detail collapses and value masses survive — the same way old masters squinted across the studio to check the big light-and-dark shapes before fussing with edges.
No. The tool resizes the top layer to fit on top of the bottom layer. Use the Scale, Rotate and Pan controls to fine-tune the alignment if your drawing was photographed from a slightly different angle.
The two complement each other. A grid maker for drawing helps you transfer proportions accurately while you are creating the artwork. This comparison tool is what you reach for after you finish, to verify how close you got.
Many artists use both — draw with the grid, then verify with the overlay.
Yes. After overlaying your two images, hit "Send composite to Grid Maker" — the merged image opens in the grid maker for drawing with no re-upload needed. Any reference rulers you have placed bake into the handoff image too.
Nine modes, ordered from the most familiar to the most diagnostic: Side-by-Side (two panes, no blending — the default), Mirror (drawing flipped horizontally next to the reference), Squint (both panes Gaussian-blurred for value-mass checks), Difference (amplified absolute delta, invert-able), Neon (false-colour difference heatmap), Multiply (darkens overlaps — boost the drawing contrast for faint pencil), Screen (brightens overlaps — boost brightness for chalk and white pencil), Outline (Canny edges of your drawing in any colour) and Split (wipe slider between the two layers).
Each mode exposes its own parameter slot under the picker — sensitivity, blur radius, contrast / highlight boost, outline colour and strength, split position.
Reference rulers are draggable guide lines you drop on the canvas to compare feature positions — eye line, jaw line, axis of symmetry, the slope of a shoulder. Up to 20 lines, each with its own colour and 1–5 px width.
Drag the line body to pan it. Drag either endpoint to shorten, lengthen, or tilt it into a diagonal. Click a line to select it — the colour and width pickers then bind to the selected line. With no selection, the pickers control the style of the next added line.
Lines bake into the live preview, the exported PNG, and the Grid Maker hand-off — what you see is exactly what you download.
JPG, PNG and WebP, up to 20 MB per image. The exported comparison is always a PNG to preserve quality.