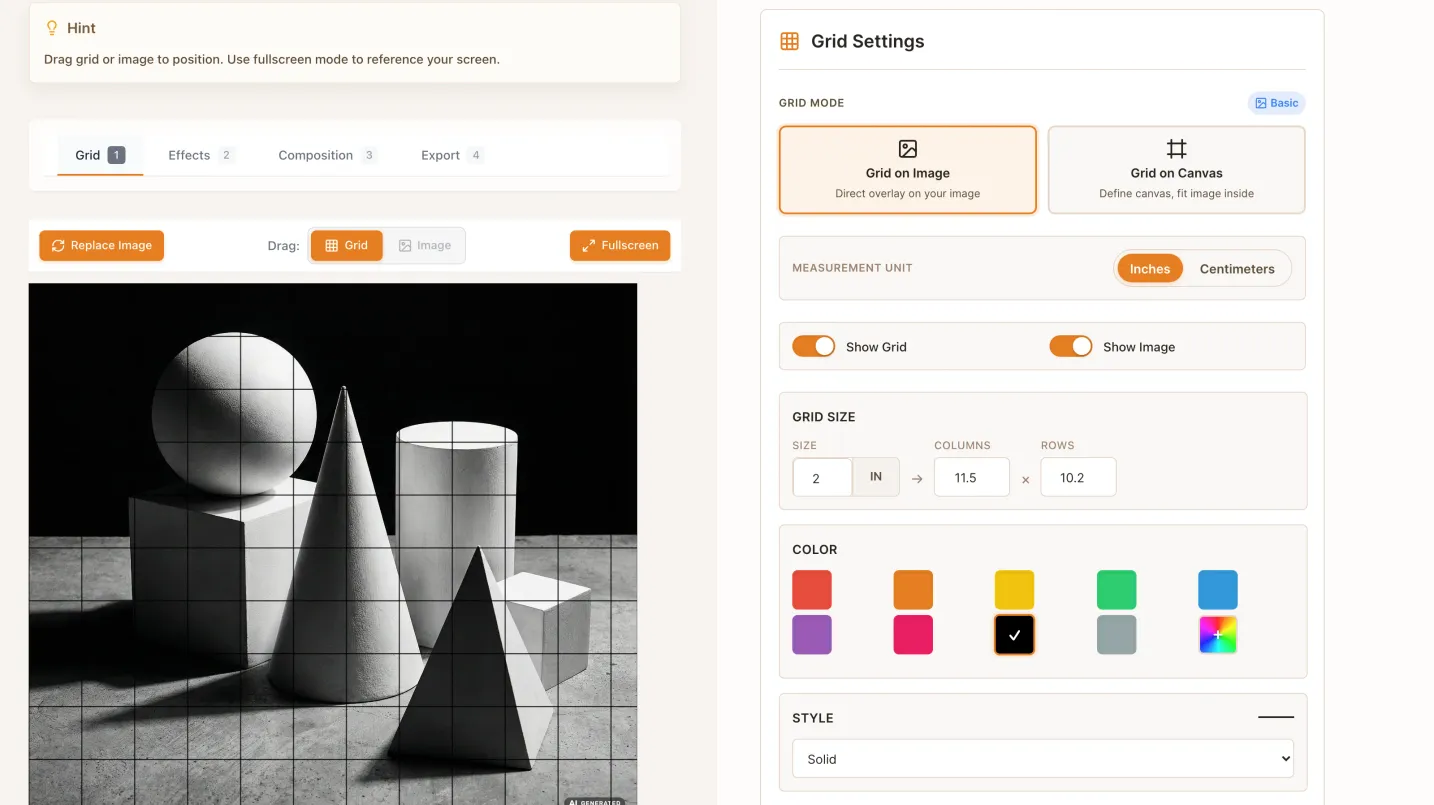
If you’re a beginner, most “bad drawings” come from one thing: placement. Features drift, angles are guessed, and proportions slowly change as you move across the page.
The grid method fixes that by giving you clear reference points. You stop guessing “where the nose goes” and start placing edges and landmarks relative to grid lines. It’s not magic—it’s a simple measuring system you can repeat.
What Grid Drawing Is (In One Sentence)
You put a grid on a reference image, draw the same grid count on your paper, then copy the image by placing shapes and edges inside each matching square.
Why Beginners Struggle Without a Grid
Beginners usually don’t fail because they “can’t draw.” They fail because:
- They place features without measuring (so proportions drift).
- They draw symbols (an “eye shape”) instead of the angles they actually see.
- They add detail too early, before the big shapes are correct.
A grid gives you a measuring system that makes these problems easier to control.
The Beginner Workflow (Do This Every Time)
1) Pick a reference that’s easy to read
- Choose one clear light source.
- Avoid heavy filters and extreme shadows.
- Make sure the subject is large enough to see (a tiny head = tiny details).
2) Choose a grid that matches your patience (and the subject)
Use the number of squares as your “difficulty setting”:
- First try: 4×4 or 5×5 (simple objects)
- Portraits: 8–10 squares across the width of the head, measured cheekbone to cheekbone
- Don’t start with: 12×12+ unless you enjoy slow, detailed work
If you’re spending more than a couple minutes per square just to understand what you’re seeing, the grid is likely too fine for your current level.
3) Make sure your grids match (this prevents distortion)
If your reference is 8 squares wide and 10 squares tall, your paper must also be 8 wide and 10 tall. You can change the size of the squares, but not the grid’s shape.
Label columns A–H and rows 1–10 to avoid copying the wrong square.
4) Transfer using anchor points (not guessing)
In each square, don’t start by “drawing the object.” Start by placing 2–4 anchor points:
- Where an edge touches a grid line
- Where an edge crosses the center of a square
- Corners/turning points (where a curve changes direction)
Then connect those points with straight segments first, and smooth curves second.
5) Check as you go (so errors don’t spread)
Every few squares, pause and check:
- Are the big angles correct?
- Do the main landmarks (eyes, nose base, mouth corners) sit in the same grid locations as the reference?
- Does the outer contour still match?
If something feels wrong, it’s usually one of these: wrong square, wrong anchor point, wrong angle.
Next Step
Use the full step-by-step guide here: complete grid drawing guide.
If you want to create/print a grid quickly, use the grid maker for drawing.
Common Questions About Starting Grid Drawing
Ready to Try the Grid Method?
Put these techniques into practice with our free grid generator tool—trusted by 170,000+ artists worldwide.
Create Your Grid Now →