How to apply Rabbit Skin Glue to seize a Canvas
Rabbit skin glue is an age-old sizing agent used by traditional artists to prepare their canvases. This natural and archival material has been utilized for centuries, providing a sturdy yet flexible foundation that helps protect the canvas fibers from the corrosive effects of oil paint. The application of rabbit skin glue is a meticulous process that requires patience and know-how. In this blog post, we'll walk you through the step-by-step process to properly apply rabbit skin glue to seize a canvas.
Understanding Rabbit Skin Glue
Rabbit skin glue is made from the collagen extracted from rabbit skins. When heated in water, it forms a gelatinous solution that, once cooled, hardens and contracts. It's this characteristic that makes it a perfect sizing agent—it tightens the canvas, making it taut and ready for a layer of gesso or direct painting. However, it's crucial to use rabbit skin glue carefully since over-application or incorrect preparation can lead to a brittle surface that might crack with age.
Tools and Materials Needed
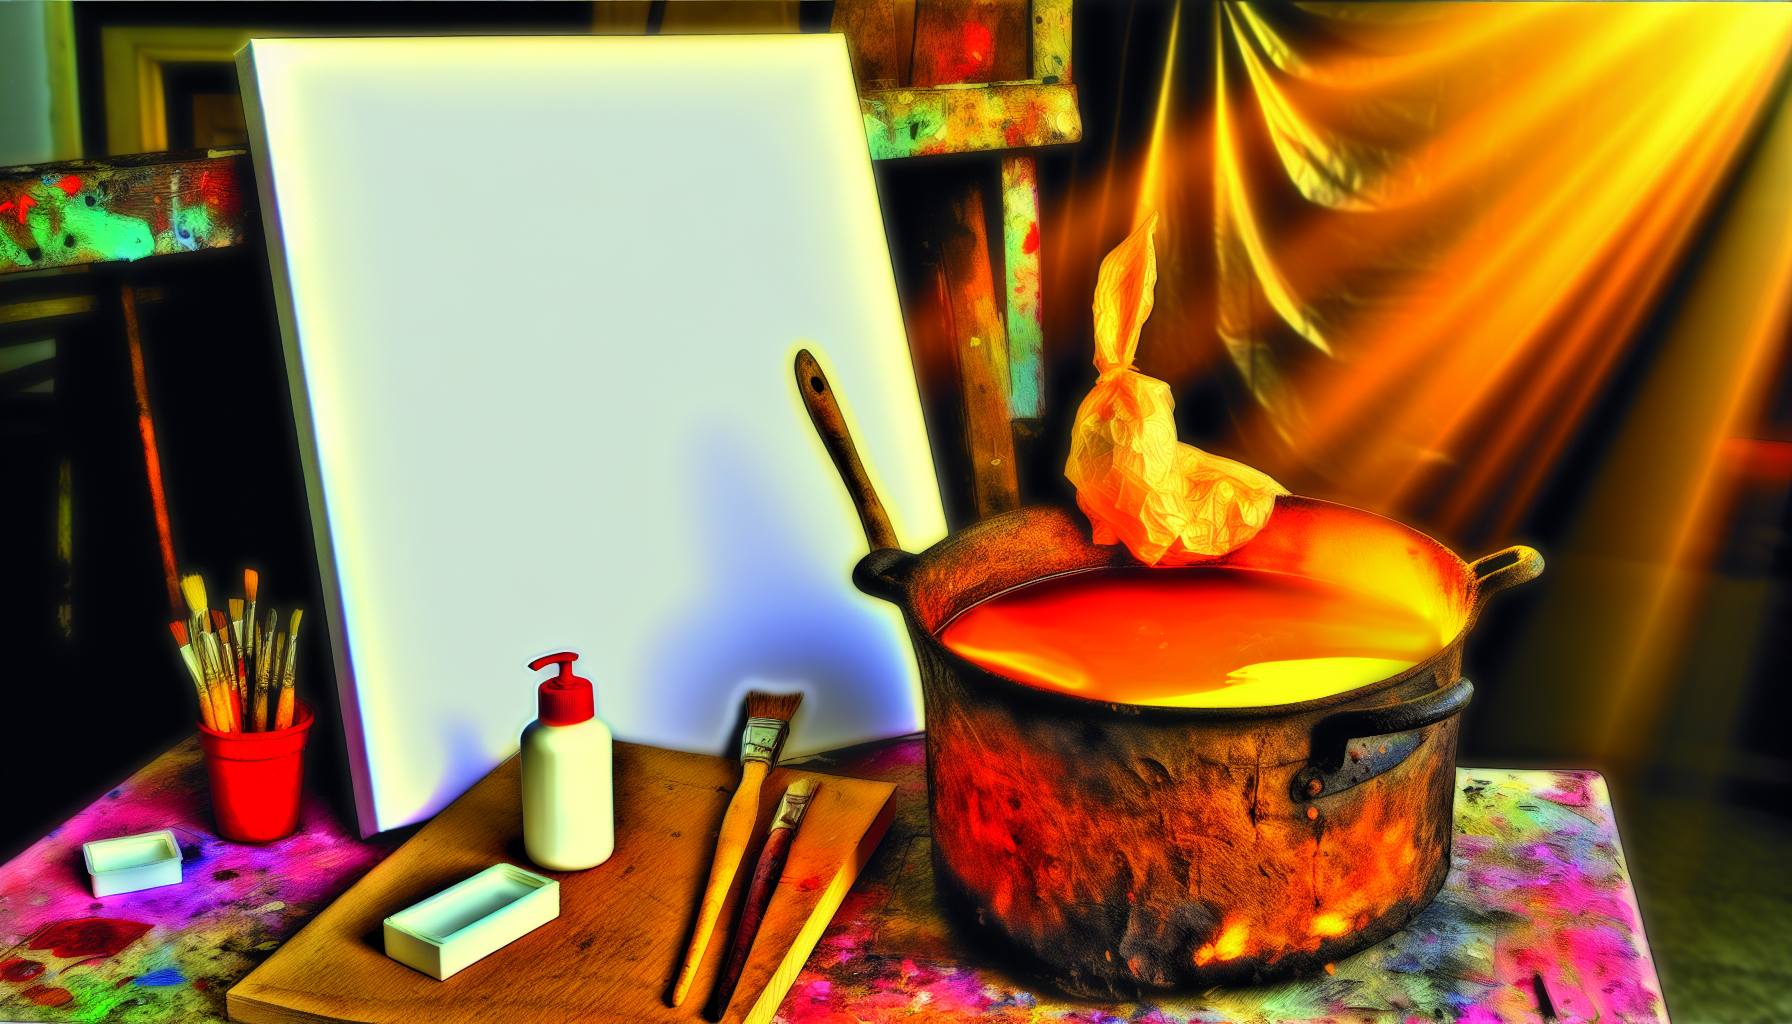
To get started, you'll need the following tools and materials:
- Rabbit skin glue pellets or granules
- Double boiler or two pots
- Water
- A natural bristle brush
- A canvas (stretched and tacked or stapled)
- A thermometer (optional but recommended)
- A strainer or cheesecloth
- Protective gloves
Preparing the Rabbit Skin Glue
The preparation of rabbit skin glue is an essential step to getting the mixture just right. Here's how to do it:
- Measure Your Glue: A standard ratio is 1 part rabbit skin glue to 15 parts water by volume. Adjust this ratio depending on the desired viscosity and your climate.
- Soaking: Allow the glue pellets to soak in water for at least 3 hours, or overnight. They will swell and absorb the water.
- Warming: Using a double boiler, gently warm the soaked glue on a low heat. Never allow the glue to boil, as this can weaken its adhesive properties. Aim for a temperature of about 60°C (140°F).
- Straining: To remove any impurities, strain the warm glue through a piece of cheesecloth or a fine strainer into a clean pot or container.
Applying the Rabbit Skin Glue
Test the Surface
Before you begin applying the glue, test it on a small area of the canvas to ensure it doesn't contain any impurities that might affect the canvas.
The Application Process
- Preparation: Make sure your work area is clean and your canvas is securely fixed to a stretcher or board.
- Applying the First Coat: With your natural bristle brush, apply an even coat of the warm rabbit skin glue. Begin from the center and work towards the edges. Be sure not to saturate the canvas; a thin coat is sufficient.
- Drying: Allow the first coat to dry completely, ideally overnight. The canvas should feel taut and firm to the touch.
- Re-Applying: If necessary, apply a second coat of the rabbit skin glue for extra protection, especially if you’re working with a heavier canvas or linen.
- Cleaning Up: Be sure to wash your brush immediately with warm water to remove any glue residue.
After The Sizing
A Note on Humidity
Bear in mind that rabbit skin glue is hygroscopic and reacts to the humidity in the air; it can expand and contract. This property is one of the reasons why some modern artists prefer synthetic alternatives.
Applying Gesso
After your canvas is sized and fully dry, you can now apply a layer of gesso. This will provide a smooth and even surface for painting.
Troubleshooting Common Issues
Cracking and Rippling
If the rabbit skin glue has been applied too thickly or unevenly, it can cause the canvas to ripple or the sizing layer to crack. To prevent this, be meticulous during application and ensure even, thin layers.
Wrinkling
Sometimes, if a canvas is not stretched tightly enough, the contraction of the glue as it dries can cause the canvas to wrinkle. It's important to stretch the canvas properly before applying the glue.
Mildew Growth
Because rabbit skin glue is organic, it can be prone to mildew growth in humid conditions. To combat this, some artists add a small amount of formaldehyde to the glue. However, due to its toxic nature, this practice is less common now. Instead, ensure your storage and working conditions are as dry as possible.
Conclusion
Applying rabbit skin glue to canvas is a traditional method that requires skill and care to ensure the best possible base for oil painting. By following the steps outlined above, you can achieve a beautifully seized canvas that honors the practices of the old masters while laying the foundation for your own masterpiece.
Remember, like any art process, practice makes perfect. Don't be discouraged if your first attempt doesn't go as planned. With each canvas you prepare, you'll hone your craft and develop a deeper understanding of this classical technique that has supported artists for centuries.