How to mix a traditional Gesso with Rabbit Skin Glue
Gesso has been an artist's best friend since the days of the Old Masters. This versatile mixture serves as a ground, preparing canvases and other surfaces for painting. It creates a smooth, absorbent coating that paint adheres to beautifully. When made traditionally using Rabbit Skin Glue, it provides a warmth and texture that modern acrylic gessos simply cannot replicate. Making your own gesso can be deeply satisfying and can lend an authenticity to your work that is prized among artists and conservators. In this post, we'll delve into the ancient art of mixing traditional gesso, step by step, so that you can prepare your painting surfaces just as the masters did centuries ago.
Understanding Your Materials
Before you start mixing your gesso, it's essential to understand what you are working with. Traditional gesso is a blend of mostly two materials: Rabbit Skin Glue and a white pigment, usually chalk or gypsum. Rabbit Skin Glue acts as the binder - it's an animal collagen that when mixed with water and heated turns into a gel. When it cools, it creates a flexible, strong film. The chalk or gypsum, being an inert substance, provides the body and fill to the gesso.
History of Rabbit Skin Glue Gesso
Rabbit Skin Glue gesso has a long history, going back to the early Renaissance. It was the primary undercoat for wood panels before the invention of acrylic alternatives in the mid-20th century. Aside from providing a great surface to paint on, traditional gesso helps in protecting the wood from the corrosive effects of oil paint, making it crucial for the longevity of the artwork.
Advantages of Rabbit Skin Glue Gesso
Mixing your own traditional gesso has several advantages. First, it allows you to control the texture of your ground - you can make it as smooth or as textured as you like. It’s also more flexible than acrylic gesso, reducing the likelihood of cracking over time. Traditional gesso also seals the surface in a way that acrylic cannot, protecting your wood panels from the oils in your paint.
Safety and Preparation
Working with Rabbit Skin Glue requires some caution. It is an organic product and can spoil easily, which is why it is crucial to work in a clean environment and use fresh materials.
Necessary Precautions
- Use gloves if you have sensitive skin, as constant contact with the glue may cause irritation.
- Ensure you're working in a well-ventilated space due to the slight odor when the glue is heated.
- As it is a protein, be aware that it can attract pests, so store it properly.
- Use distilled water to avoid any contaminants that may affect the consistency or drying time of your gesso.
Tools and Equipment Needed
- A double boiler or equivalent setup to heat the glue.
- A high-quality fine dust mask to avoid inhalation of the pigment.
- A scale for precise measurements.
- Whisk or stirrer.
- Airtight container for storage.
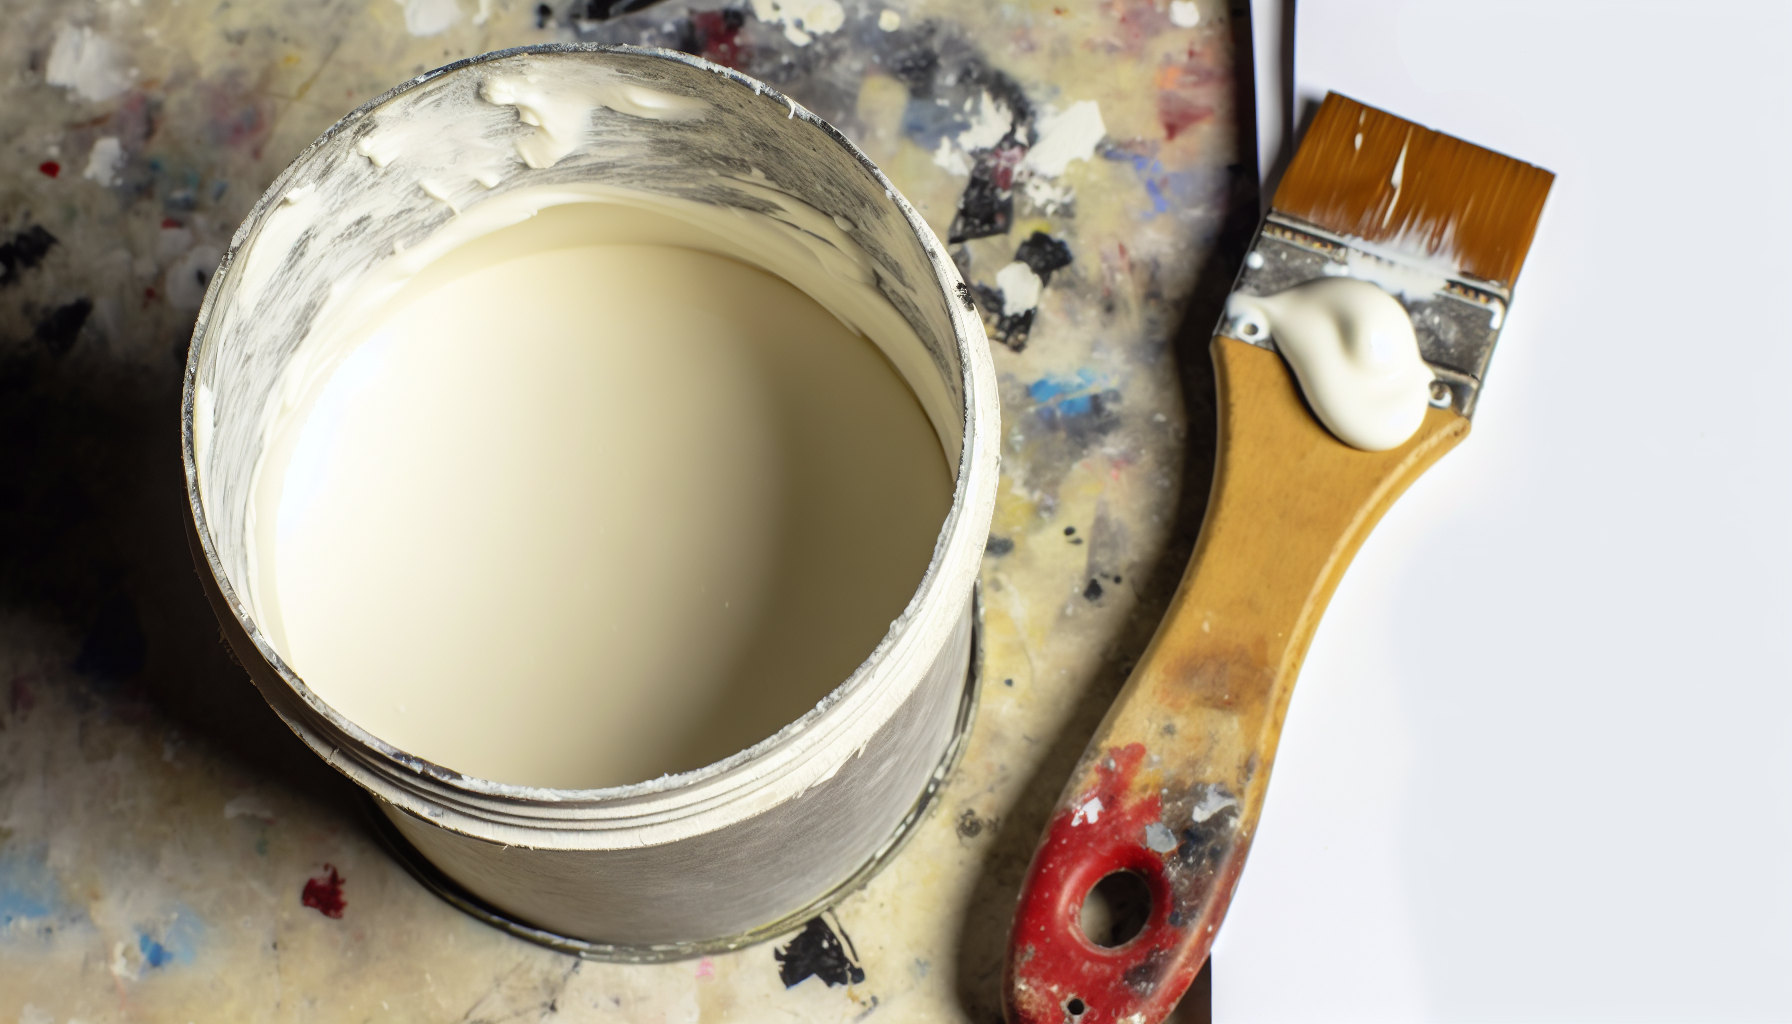
The Mixing Process
The process of mixing traditional gesso requires patience and some attention to detail. Here’s how to get started:
Preparing Rabbit Skin Glue Solution
Ingredients:
- Rabbit Skin Glue granules
- Distilled water
Instructions:
- Measure the Rabbit Skin Glue granules. The typical ratio is 1 part glue to 10 parts water by weight.
- Soak the granules in the distilled water overnight to allow them to swell.
- The next day, gently heat the mixture in a double boiler until the glue is melted. Avoid boiling as it can weaken the glue's strength.
Mixing the Pigment
Ingredients:
- Chalk or gypsum powder
- Prepared Rabbit Skin Glue solution
Instructions:
- Slowly sift the pigment into the warm Rabbit Skin Glue solution, whisking continuously to avoid lumps.
- The amount of pigment you use will depend on the desired consistency – a ratio of 1 part glue to 1–2 parts pigment by weight is common.
- Keep mixing until you have a smooth, creamy consistency.
Application Tips
Applying your freshly mixed gesso requires technique and timing. Here are some tips to ensure a great result:
Preparing the Surface
- If you're working on wood, sand it first to ensure it's smooth.
- Use thin coats of gesso, allowing each to dry thoroughly before applying the next layer.
- Sand lightly between each layer for an ultra-smooth finish.
Application Techniques
- Use natural hair brushes for application.
- Work quickly; the gesso dries fast and is difficult to smooth out once it starts setting.
- Keep in mind that the first layer should be thin to penetrate the fibers of the wood, and subsequent layers can be thicker to build the surface.
Aftercare and Storage
Proper aftercare and storage are critical for the longevity of your gesso.
Caring For Your Gessoed Surface
- Allow the final coat of gesso to cure for several days before painting.
- Protect the surface from dust and debris as the gesso dries.
Storing Leftover Gesso
- Pour any leftover gesso into an airtight container and store in a cool, dark place.
- Reheat gently in a double boiler when ready to use it again.
Conclusion
The process of creating your own traditional gesso with Rabbit Skin Glue is a quintessential experience for the classical artist. It connects you to centuries of art-making tradition and offers a preferred surface for many who swear by its superior quality. By following the steps and tips outlined above, you'll be equipped to start preparing your painting grounds traditionally, paving the way for masterpieces to come.