Painting Realistic Metal and Reflections in Oil
Unlock the secrets of painting realistic metal and reflections in oil, transforming your artwork into a dazzling display of light and shadow. Dive in to elevate your realism skills!

Mastering the Art of Painting Realistic Metal and Reflections in Oil
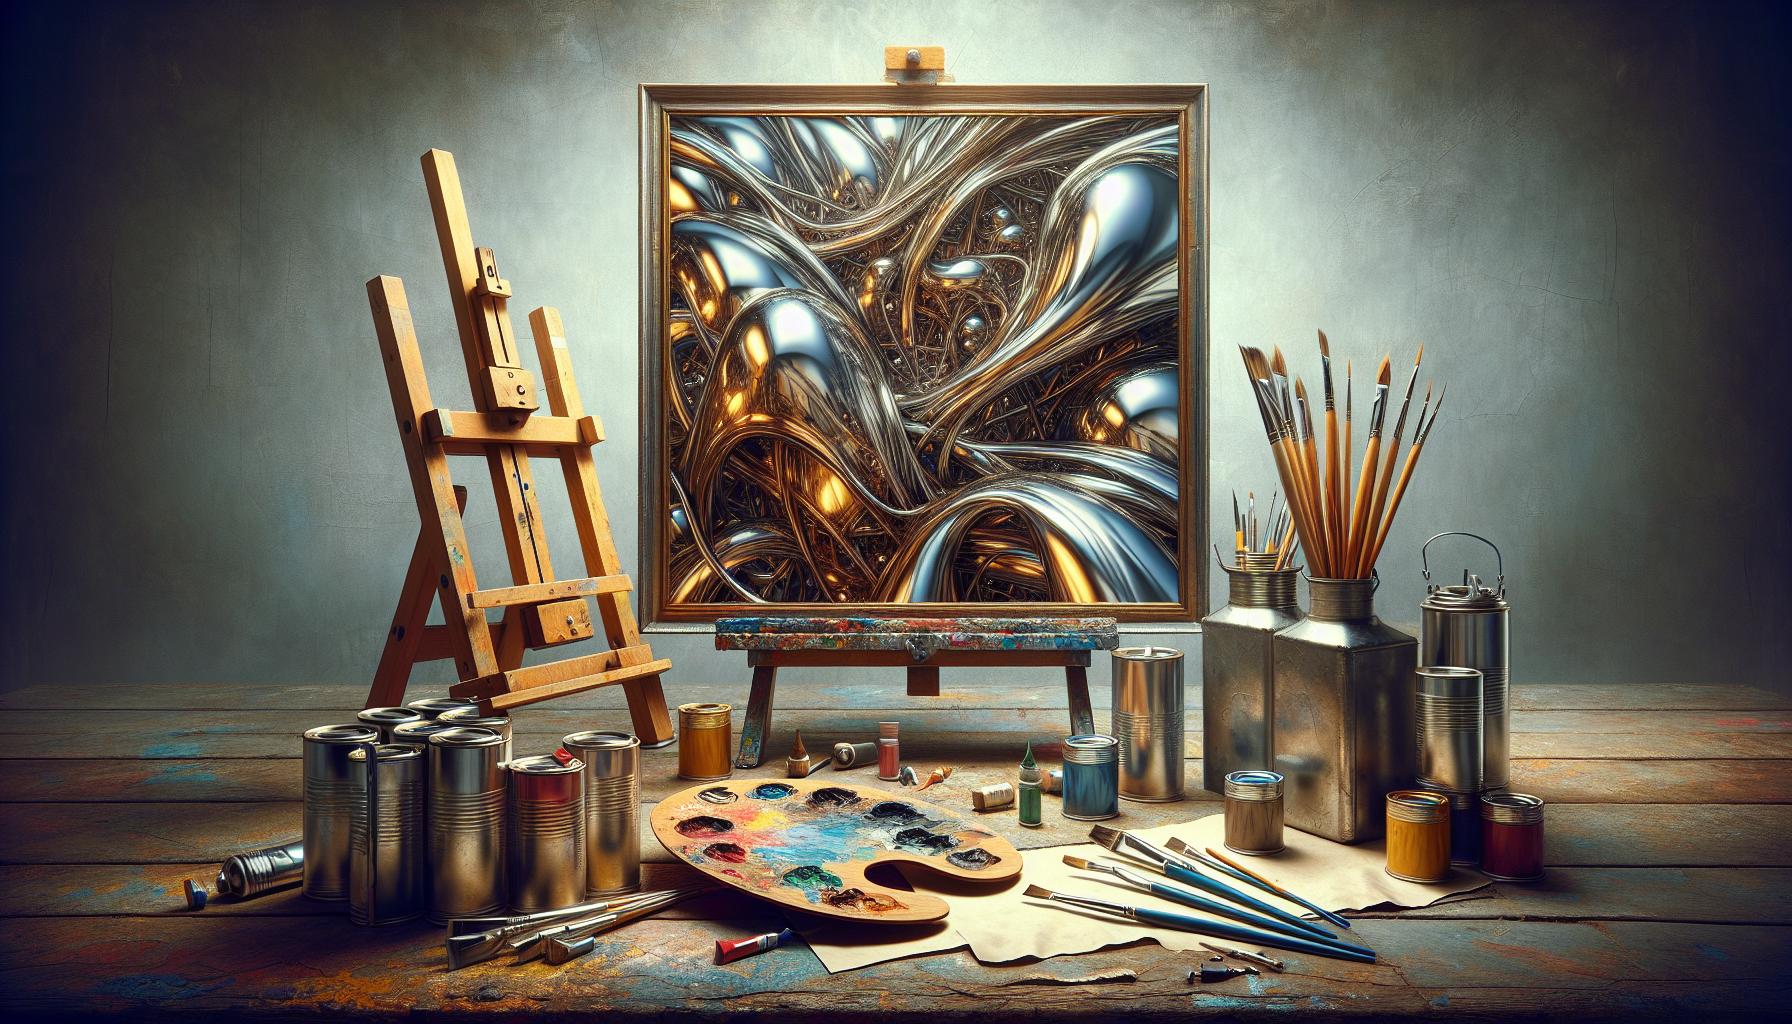
Creating a convincing depiction of metal and reflections in oil paintings is a skill that can elevate an artist's work to new levels of realism. Such compositions challenge and captivate the viewer, offering a mirror into our world through art. For artists, mastering this skill can be both a demanding and rewarding pursuit due to its complexity and the dazzling results it can achieve. In this post, we'll delve deep into realistic metal, reflection painting, oil painting techniques, and more to help you achieve stunning metal effects in oil.
Understanding the Basics of Realism in Painting
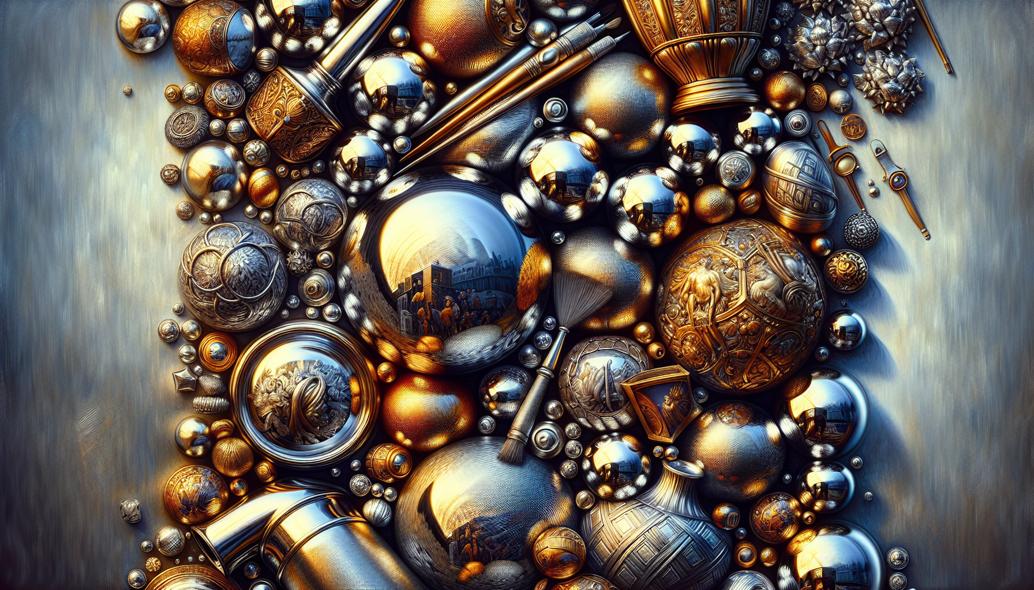
Realism in art aims to depict subjects with accuracy and precision, paying closest attention to details and hues that represent life as it truly appears. When it comes to portraying metal objects, the reflection and light play a pivotal role in creating that authentic look. Metal surfaces interact with light in unique ways, such as through highlights, shadows, and mirrored images, which together contribute to the overall perception of realism.
Metal, with its innate sheen and sharp contrasts, poses a particular challenge. The secret lies in understanding both the intrinsic properties of the metal being portrayed (whether it's shiny aluminum, brushed steel, or gleaming copper) and the environment's effect on it.
Choosing the Right Tools and Materials
Before diving into rendering metallic effects, your choice of tools and materials plays a crucial role. Here's a rundown of what you'll need:
- Oil Paints: Opt for high-quality pigments, as they offer the depth and richness required for realistic metal reflections and details. Brands like Winsor & Newton and Gamblin are widely favored among specialists.
- Brushes: Use a combination of brushes, such as fine-liner brushes for detail and larger, softer brushes for blending. The choice of brush influences the subtleties of metal's reflective qualities.
- Mediums: Utilize glazing and impasto mediums when building layers. Glazing mediums are especially useful for refining reflections and giving the surface a polished look.
- Surfaces: Smooth painting surfaces, like linen or high-quality canvas board, enable finer details and transitions.
Essential Oil Painting Techniques for Metal Effects
Blocking in Colors: Start by blocking in the dominant colors of the metal object. These are influenced by the light source and surrounding environment, so it's crucial to observe carefully. Establish the darkest darks and lightest lights early on to define your tonal range.
Layering and Glazing: Using thin coats of paint through layering techniques will allow for nuanced shifts in tone and color. Glazing is particularly important as it can create depth and luminosity, key attributes of metallic surfaces. Incorporate a medium specifically designed for glazing to maintain color vibrancy.
Depicting Reflections Accurately
When portraying a reflective surface, the reflections themselves must be handled with precision. Here are some tips:
- Study Reflections: Spend time observing how reflections warp and change based on angles and surfaces. A cylindrical object, for instance, will have elongated reflections, while a flat surface may mirror its environment more directly.
- Use Contrasts Wisely: Reflected light often requires stark contrasts to achieve a crisp reflection appearance. Sharp outlines will separate the reflective elements from their surroundings.
- Softening Transitions: While some reflections are sharp, others can blend softly into one another. The key is in striking a balance and ensuring transitions occur naturally.

Realistic Metal: Capturing Different Finishes
Achieving the look of different metal types involves tailoring your approach to each finish.
Shiny Surfaces: To depict highly polished metals such as chrome or silver, place a strong emphasis on both the highlights and the darkest reflective spots. These help delineate the metal's form and give it that characteristic polish.
Matte or Brushed Metals: For metals with a more subdued finish, such as brushed aluminum, soften your highlights and ensure that there are subtle variations in tone and texture. This can be done with gentle crosshatching or stippling techniques using dry brushes.
Practical Exercise: Painting a Reflective Sphere in Oil
Step 1: Outline the Sphere: Begin by sketching the sphere lightly with a pencil to ensure its form is accurate.
Step 2: Define the Light Source: Establish where the light source is coming from. This will determine how shadows and highlights are cast on the sphere.
Step 3: Apply Base Color: Paint the sphere with a base color indicative of its material. For a silver sphere, start with a blend of Payne’s Grey and Titanium White.
Step 4: Develop Reflections: Incorporate the environment's colors subtly into the sphere to build its reflective qualities. Use thin glazes to introduce these environmental elements.
Step 5: Enhance Highlights and Shadows: Use nearly pure white for the brightest highlights and deepen shadows with a mix of ultramarine blue and burnt umber.
Step 6: Final Touches: Use a clean soft brush to gently blend areas, ensuring smooth transitions. Consider using a fan brush for the most minute adjustments.
Conclusion: Embracing the Art of Metal and Reflection in Oil
Mastering the art of painting realistic metal and reflections in oil is a journey that demands patience, practice, and a keen eye for detail. By understanding the principles of realism, lighting, and environment interaction, artists can effectively render metal objects in their full reflective glory. Experiment with different approaches and regularly observe real-life metal objects to continuously refine your technique. Remember, every painting session presents an opportunity to grow and to transform simple paint strokes into mesmerizing metal images.
Armed with these tips and techniques, you are now prepared to tackle the challenges of realism painting with newfound confidence. Happy painting!
