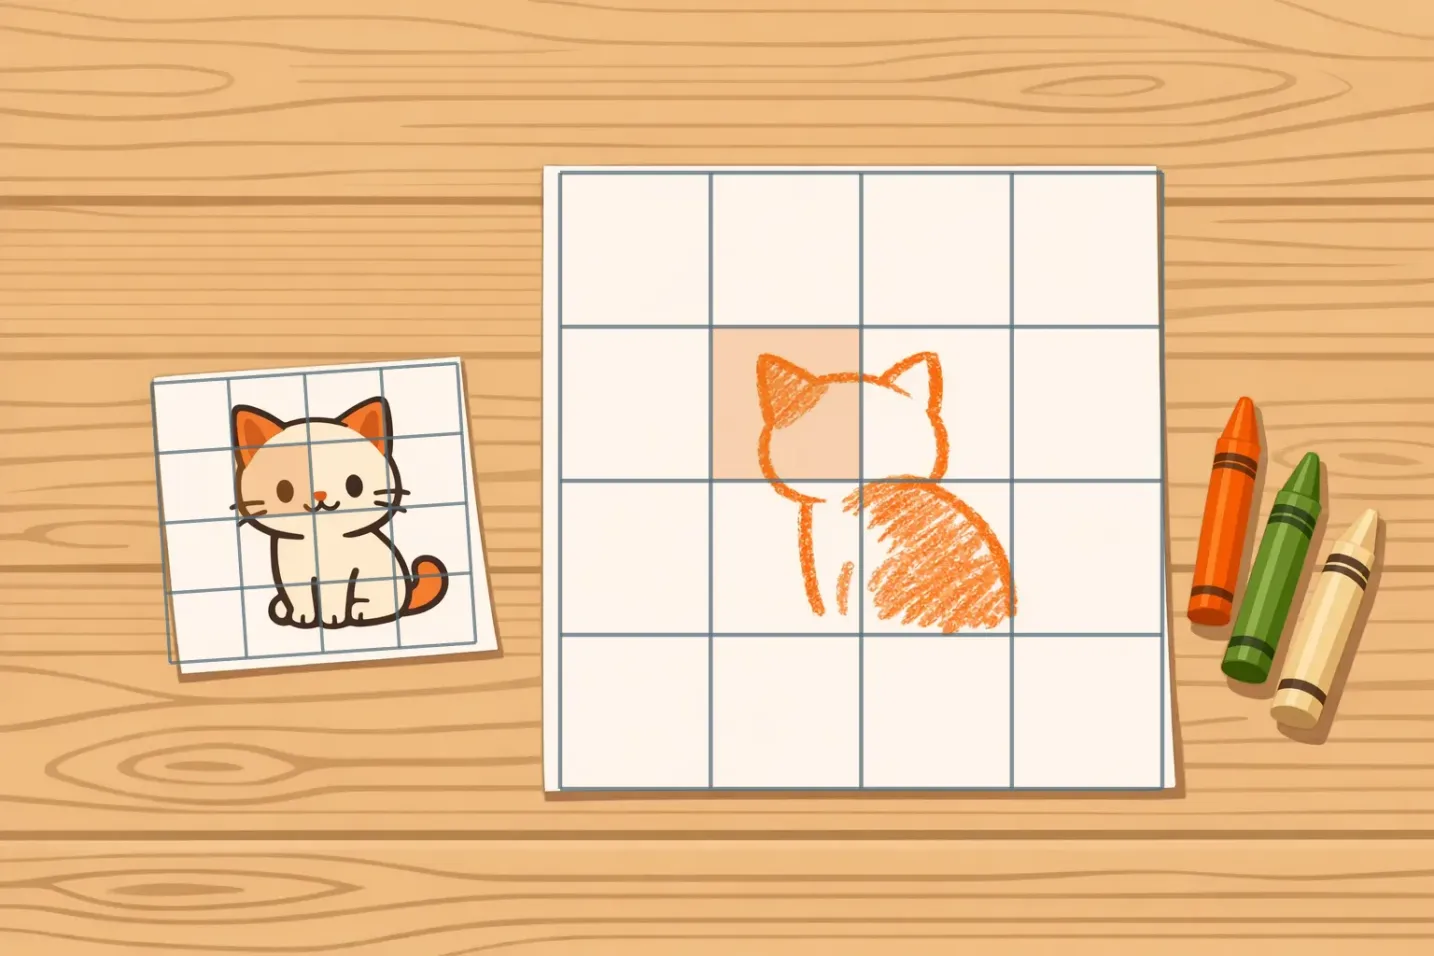

Most grid lessons with children fail for one reason: the squares are too small. A grid sized for an adult asks for pencil control a seven-year-old does not have yet. The result is a frustrated child who decides they "can't draw." Get the square size right for the age in front of you and the same technique produces a finished drawing in half an hour.
Grid size and session length by age
Start here. Everything else in this guide follows from this table.
| Age | Square size | Session length | Reference subjects that work |
|---|---|---|---|
| 6-8 | 5-7 cm (2-3 in) | 15-20 minutes | Simple cat outline, apple or pear, smiley sun, house |
| 9-11 | 2.5-4 cm (1-1.5 in) | 30-45 minutes | Cartoon face, dog or horse in profile, sneaker, bicycle |
| 12+ | 2-2.5 cm (about 1 in) | 45 minutes or longer | Portrait photo, hands, detailed animal fur, still life |
A 6-8 year old's sheet ends up with roughly 4x6 squares on A4. That feels absurdly coarse to an adult eye, and it is exactly right: each square holds one simple decision (a curve, a corner, an empty space) instead of five overlapping ones.
Why the squares shrink with age
What changes with age is how finely a child can place a line: a six-year-old can put a mark reliably inside a 3-inch box and not inside a 1-inch one. It is worth knowing that in adults, motor control turns out to explain almost none of the error in drawing accurately. Cohen and Bennett (1997) found the main problem is misperceiving the thing being looked at, not the hand. For young children the hand is still catching up, so a coarse grid does two jobs at once: it makes the target bigger, and it makes the looking simpler.
Viktor Lowenfeld's 1947 developmental stages describe roughly this arc. Children in the schematic years draw with symbols and flat space, and the interest in true proportion and observed detail tends to arrive later, around nine to eleven. Grid work rides along with that shift rather than trying to force it early.
Two practical corollaries:
- When in doubt, go one size larger. A grid that is too coarse costs a little accuracy. A grid that is too fine costs the child's willingness to try again next week.
- Shrink the grid, not the paper. Move a child to smaller squares only after they have finished two or three drawings at the current size without help.
What you need
Nothing exotic. For a table of six children:
- Printed gridded reference sheets, one per child (see below)
- Blank paper with the same number of squares, ruled in light pencil or pre-printed
- HB pencils: soft enough to erase cleanly, dark enough to see
- Good erasers (one each; sharing erasers wastes minutes)
- Optional: a coloured pencil for numbering rows and columns, and a ruler for children old enough to draw their own grid
Number the columns 1, 2, 3 across the top and the rows A, B, C down the side on both sheets. "Look at square B3" is the single most useful sentence in the whole lesson, and it only works if both sheets are labelled.
Making the worksheets
For classroom preparation, GridMyPic's Grid on Canvas mode turns worksheet-making into a thirty-second job: choose A4, set a large cell size (5 cm works well for ages 6-8), and export a print-ready PDF. One gridded reference per child, no ruler required. Prepare a worksheet in the grid maker.
Print the blank sheet with the same square count but lighter lines, so the finished drawing is not buried in graphite. If you would rather set up the reference yourself, our grid for drawing page walks through the overlay options.
A 30-minute lesson plan
Written for a group of 9-11 year olds with 1-inch squares. Timings in brackets; adjust down to 15-20 minutes for younger children by cutting steps 6 and 7 and choosing a four-square-tall subject.
- 0-3 min Show the finished example. Hold up a completed drawing from a previous class or your own. Children need to see where this is going before they start.
- 3-5 min Hand out both sheets and name the squares. Point at A1 on the reference, then A1 on the blank sheet. Have the class point along with you. Check every sheet is the right way up.
- 5-8 min Play "what's in this square?" Call out three squares. Ask what is inside: not "an ear," but "a curved line from the top-left corner to the middle." This is the whole skill of the lesson, and it is worth three minutes on its own.
- 8-12 min Draw the easy squares first. Tell them to find the two or three squares with the simplest content and copy only those. Everyone gets a mark on the page within four minutes, which is what keeps the room calm.
- 12-22 min Work square by square. One square at a time, left to right, top to bottom. Circulate. When a child is stuck, cover the rest of the reference with your hand so only their square shows.
- 22-26 min Check and fix. Have them hold the drawing at arm's length next to the reference and find one square to improve. One, not all of them.
- 26-29 min Erase the grid lines. This is the moment the drawing appears, and children find it genuinely satisfying. Light grid lines matter here.
- 29-30 min Name it and sign it. Signing the work closes the session properly and makes it theirs.
If you are leaving this as a substitute plan, print the reference and blank sheets in advance. Add one line for the cover teacher: "One square at a time. Simplest squares first. Erase the grid at the end."
Reference subjects by age
Choose subjects with strong outlines and large flat areas. Photographs with soft edges, busy backgrounds or heavy shadow are much harder than they look.
Ages 6-8
A cartoon cat sitting front-on, a single apple or pear, a stylised sun or flower, a simple house. Look for a subject that reads clearly at four squares tall. Avoid anything where two objects overlap.
Ages 9-11
A cartoon or comic face, a dog or horse in profile, a sneaker, a bicycle. These have enough internal detail to reward careful looking while the outer silhouette stays simple. Profiles are far kinder than three-quarter views at this stage.
Ages 12+
A photographic portrait, a hand, an animal with visible fur or feather texture, a two- or three-object still life. At this age the grid stops being a crutch and becomes a measuring tool used alongside direct observation.
Problems that come up every time
"Mine looks wrong." Ask which square. Almost always it is one square, and almost always it is a size problem, not a shape problem. Comparing that one square against the reference fixes it in under a minute.
They skip ahead and draw the whole outline freehand. Common and not a disaster. Let them finish, then ask them to compare it to the reference square by square and mark where it drifted. That comparison teaches more than the rule would have.
They press too hard and cannot erase the grid. Switch to a lighter pencil for the grid or hand out pre-printed sheets with faint lines. Do not make it a discipline issue.
Motor fatigue after about fifteen minutes. Hands genuinely tire. Build in a stretch, or plan the shorter session in the first place.
Strong resistance to the grid itself. Some children experience it as being told how to draw. Frame it as a tool they can put down: use it for the hard drawing they want to get right, then free-draw afterwards. Ending every session with five minutes of unstructured drawing removes most of this objection.
What children take away from it
The honest answer is narrower than the claims often made for art instruction. What grid drawing reliably teaches is careful looking: breaking a whole image into parts, comparing sizes and positions, and checking your own work against a reference. Many teachers also observe improvements in patience and in willingness to attempt a hard drawing, which is worth a great deal at this age.
Claims that grid drawing raises maths scores or reading comprehension go further than the evidence supports; transfer between art training and other academic skills is contested. It is enough that a child who finishes a drawing they are proud of comes back next week. The confidence is real, it is specific to drawing, and it is the thing that keeps them practising.
Teaching Children Drawing with Grids
For further study, explore grid basics for beginners and grid drawing tutorial.
Ready to Try the Grid Method?
Put these techniques into practice with our free grid generator tool—trusted by 170,000+ artists worldwide.
Create Your Grid Now →