Breaking Down Complex Drawings with Grids for Easier Reproduction
Master the art of drawing with precision by using the Grid Method! This timeless technique simplifies complex drawings, enhances accuracy, and boosts your skills. Dive into our latest post to discover how grids can transform your artistic journey!

Breaking Down Complex Drawings with Grids for Easier Reproduction
When it comes to creating art, one of the most challenging aspects can be precisely replicating complex pieces, especially when you're working from a reference image. Whether you're an experienced artist or just starting, understanding how to break down complex drawings using the Grid Method can significantly enhance your reproduction skills. In this blog post, we’ll delve deep into the Grid Method and how it can help you master proportion, achieve better accuracy, and simplify the process of sketching intricate details.
What is the Grid Method?
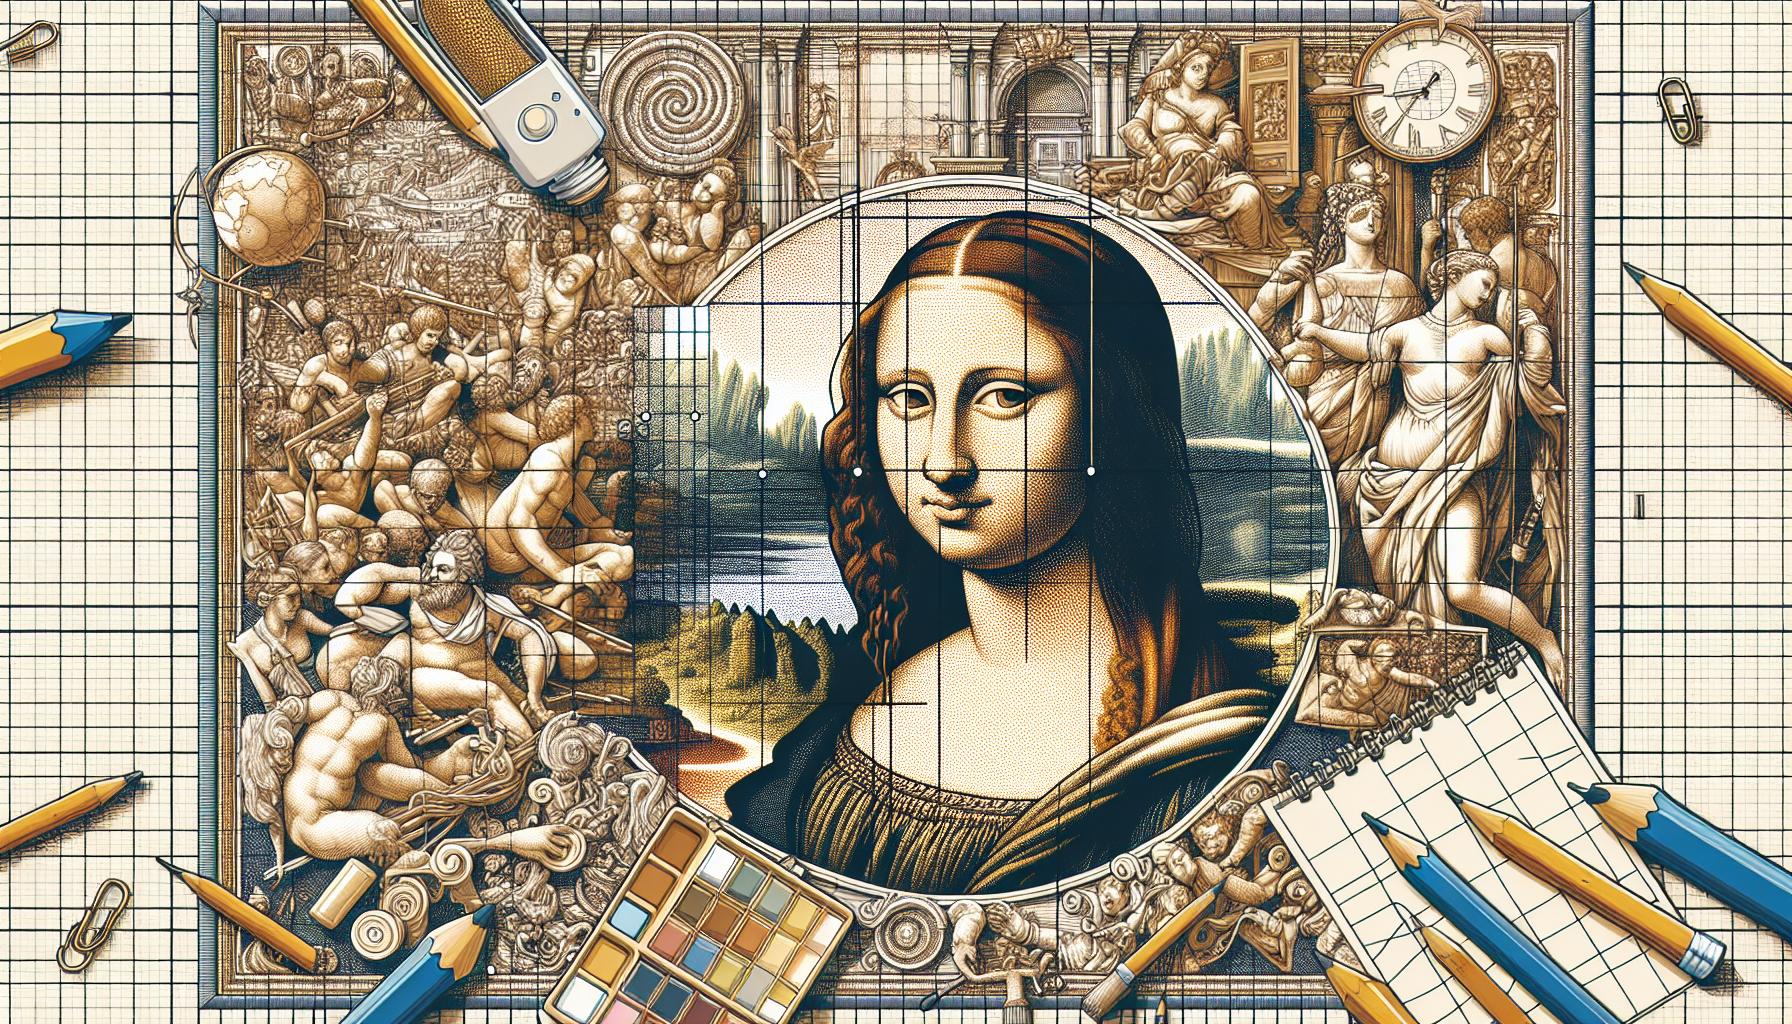
The Grid Method is a centuries-old technique that artists use to create proportions and maintain accuracy in their drawings. This technique involves overlaying a grid on your reference image and corresponding grid on your drawing paper. Each square on the grid allows you to focus on smaller sections, making it easier to reproduce complex art without getting overwhelmed by the whole picture. It's a systematic and mathematical approach to art creation and reproduction that has stood the test of time.
Why Use the Grid Method for Complex Art?
The Grid Method is particularly useful when dealing with complex art for several reasons:
- Proportional Accuracy: It ensures your drawing maintains the correct proportions relative to the reference image.
- Detail Management: By breaking the image into smaller, more manageable sections, you can focus on fine details piece by piece.
- Skill Improvement: Regular use of this method can improve your overall drawing skills and understanding of proportion and perspective.
Essentials for Getting Started with the Grid Method
Before you start, you’ll need the following:
- Reference Image: Choose a clear image that you want to reproduce.
- Drawing Paper: Your canvas or drawing surface.
- Ruler: Essential for drawing accurate grid lines.
- Pencil: For sketching both the grid and the drawing.
- Eraser: For corrections and adjustments.
- Gridding Tool: This can be a simple overlay grid or software that allows gridding of digital images.
Creating the Grid on Your Reference Image
Step 1: Measure and Draw the Grid
Start by measuring the dimensions of your reference image. If your image is digital, there are numerous apps and software that allow you to impose a grid directly onto the image. For physical images, a ruler and pencil will suffice. Divide the image into equal squares by drawing horizontal and vertical lines. You can choose the size of the squares depending on the complexity of the drawing and your comfort level.
Step 2: Number the Grid
Numbering the rows and columns of your grid can significantly help in matching sections between your reference image and drawing surface. This way, you can easily locate specific sections and avoid confusion during the reproduction process.
Step 3: Transfer the Grid to the Drawing Surface
Now that your reference image is gridded, it’s time to replicate the same grid onto your drawing paper. Make sure the grid on your drawing paper has the same dimensions proportionally as your reference grid. Use a light pencil stroke so you can easily erase the grid lines later without leaving marks on your final drawing.

Sketching the Drawing Using the Grid Method
Step 1: Focus on One Square at a Time
Start with one square on your grid. Look at the reference image, observe what’s within the square, and sketch the same onto your drawing paper. This reduces the sense of overwhelming complexity by allowing you to concentrate on small, manageable portions.
Step 2: Pay Attention to Proportions
As you sketch, pay close attention to the proportions of the objects within each square. Think of the lines and curves in terms of their position relative to the grid lines. This makes it easier to replicate the exact positioning and scale of the relevant elements in your drawing.
Step 3: Use Light Strokes Initially
Begin with light pencil strokes to draw the lines and shapes. You can refine and darken your lines as you move forward and become more confident that the proportions and placements are accurate.
Refining and Enhancing Your Drawing
After sketching the entire image grid by grid, you’ll likely have a rough but proportionally accurate outline of your reference image. Here’s how to refine and finalize your drawing:
Step 1: Erase Grid Lines
Once you’re satisfied with your sketch, carefully erase the grid lines. Be gentle to avoid smudging your drawing. By now, your drawing should hold its own without the support of the grid.
Step 2: Add Details
This is where you bring your drawing to life. Add fine details and textures that are key to capturing the essence of the reference image. If your reference image contains complex patterns or textures, break them down similarly using smaller imaginary grids within each square.
Step 3: Shading and Coloring
If your artwork involves shading or coloring, this is the stage to do so. Use a range of pencils or colors to bring depth and dimension to your drawing. The grid method also helps here, as the squares guide you on where shadows fall and light hits in specific areas, ensuring consistency in your work.
Practical Tips and Tricks
Experiment with Grid Sizes
Different grid sizes can change how you approach the drawing. Smaller grids help manage more intricate details, while larger grids are useful for broader strokes and less detailed areas. Experiment to find what works best for you and the specific piece you’re working on.
Practice Regularly
Like any skill, mastering the grid method takes practice. Start with simpler images and gradually increase the complexity as you become more comfortable with the technique.
Combine Techniques
While the Grid Method is powerful, don't hesitate to combine it with other techniques like measuring by hand or using contour drawing. This multidisciplinary approach can provide a richer and more versatile sketching skill set.
Conclusion
The Grid Method is a timeless and effective technique for breaking down complex drawings and improving your artistic accuracy. By understanding and mastering this method, artists of all levels can enhance their reproduction skills, manage proportions better, and create more detailed and polished drawings. Remember, the key is to practice regularly and adapt the grid size to suit the complexity of the artwork. With patience and persistence, the Grid Method can become a reliable tool in your artistic arsenal, aiding in the creation of stunning, proportionately accurate reproductions of your favorite art pieces.
Embrace the grid, and let it guide you to artistic precision and excellence. Happy drawing!
