The Best Tools for Grid Drawing: What You Need to Get Started
Unlock the secrets of the Grid Method for drawing with our comprehensive guide. Discover the essential tools and tips to elevate your accuracy and bring your art to new heights. Ready to transform your sketches? Dive in now!

The Best Tools for Grid Drawing: What You Need to Get Started
Drawing is an art form that demands patience, skill, and the right tools. One of the most effective techniques for improving your sketching accuracy and proportions is the Grid Method, a time-honored approach used by artists to create precise and proportionate drawings.
This post will take you through the essential drawing tools you need to get started with the Grid Method, helping you elevate your artwork and achieve stunning, accurate results. So, let’s dive into the art materials that will set you on the path towards art improvement.
Essential Drawing Tools for the Grid Method
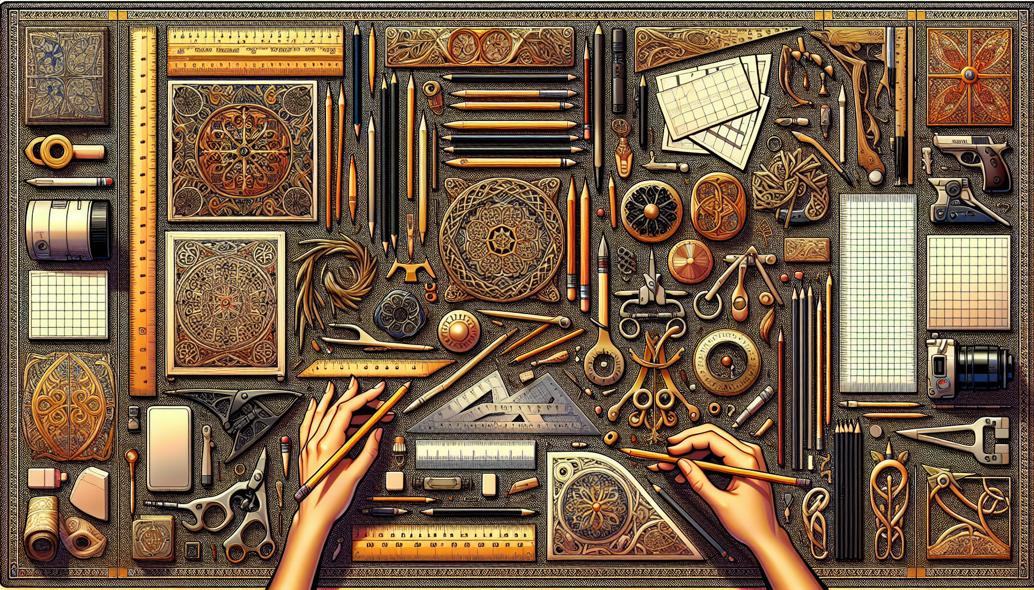
Before you start using the Grid Method, it’s crucial to have the right drawing tools ready. Here’s a comprehensive list of items you’ll need:
- Paper or Canvas: Standard drawing paper or canvas works well for the Grid Method. Choose a high-quality material that suits your medium, whether it’s graphite, charcoal, or paints.
- Pencils: A range of graphite pencils is essential for sketching. Have a variety of hardness levels (e.g., 2H, HB, 2B) to capture different line qualities and shading.
- Ruler: A ruler is crucial for drawing precise grid lines. Opt for a transparent ruler for better visibility and accuracy.
- Eraser: A good-quality eraser is a must for correcting mistakes and perfecting your drawing. Consider kneaded erasers for graphite and white vinyl erasers for a cleaner finish.
- Markers or Fine Liners: Fine liners help reinforce grid lines, especially if you’re working on a longer project or need your lines to be visible under layers of other media.
- Drawing Board or Table: Ensure your workstation is stable and comfortable to work on. An angled drawing board can help improve posture and reduce glare.
Setting Up Your Grid
Now that we have the right materials, let's move on to setting up the grid:

- Measure Your Paper or Canvas: Determine the size of your drawing surface and decide the scale of your grid. A common choice is 1-inch or 1-centimeter squares.
- Draw the Grid on Your Reference Image: Using a ruler and fine liner, draw the same grid on your reference image. This can be done digitally in image editing software or by printing the image and drawing directly on it.
- Transfer the Grid to Your Drawing Surface: Use a ruler to replicate the grid on your paper or canvas. Make sure the grid lines are light so they can be easily erased or blended into the final piece.
Transferring the Image Using the Grid Method
With your grid in place, it's time to start drawing:
- Break Down the Image: Look at each section of your reference image within the grid lines. Focus on drawing one small section at a time, paying close attention to the proportions and positioning of details within each grid square.
- Sketch Lightly: Start with light pencil strokes. This allows you to make corrections and adjustments easily without leaving heavy marks on the drawing surface.
- Refine as You Go: Continuously compare your drawing to your reference image, checking for accuracy. Make adjustments to the proportions and details as needed to ensure a faithful representation.
Final Steps and Enhancing Your Drawing
Once you have sketched out your image using the Grid Method, follow these steps to complete your masterpiece:
- Erase Grid Lines: Carefully erase the grid lines from your drawing. Use kneaded erasers to lift off lines without damaging the paper. If the lines are stubborn, a combination of erasing and blending can help integrate them into the shading.
- Add Details and Shading: Now, add finer details, textures, and shading to your drawing to bring it to life. Pay attention to light sources and shadows, enhancing the depth and realism of your work.
- Use References for Specific Areas: For challenging sections, use additional reference images or observational techniques to ensure accuracy. Take your time to refine these areas fully.
Tools for Digital Grid Drawing
In addition to traditional methods, the Grid Method can also be applied digitally. Here are the tools you might need for digital grid drawing:
- Graphics Tablet: A good graphics tablet is essential for precision digital drawing. Brands like Wacom and XP-Pen offer excellent options.
- Digital Drawing Software: Software such as Adobe Photoshop, Corel Painter, or Procreate allows you to create and manage grids easily.
- Digital Rulers and Guides: Utilize the ruler and guide features built into most drawing software for accurate grid placement.
Tips for Art Improvement Using the Grid Method
Mastering the Grid Method can significantly improve your drawing skills. Here are some advanced tips to help you get better:
- Practice Regularly: Consistent practice will help you become more familiar with using grids and improve your overall drawing precision.
- Experiment with Grid Sizes: Start with larger grid sizes and progressively use smaller grids for detailed work. This will help you build accuracy at different levels.
- Combine with Other Techniques: Use the Grid Method alongside other techniques, like gesture drawing and contour drawing, to create more dynamic and fluid artwork.
Conclusion
The Grid Method is a powerful tool in any artist's arsenal, helping to ensure accuracy and proportion in your drawings. By using the right drawing tools and practicing regularly, you'll see significant art improvement in your work. Whether you’re a beginner or an experienced artist, incorporating this method and these art materials into your creative process will certainly elevate your sketches.
Investing in quality drawing tools, understanding the Grid Method, and practicing consistently will set you on a path to creating more precise and impressive artworks. So, gather your materials and start gridding – your next masterpiece awaits!
