Mastering Grid Drawing for Realistic Animal Sketches
Unlock the secrets to realistic animal sketches with the Grid Drawing technique. Break down complex images into manageable sections, ensuring perfect proportions and stunning details. Dive into our guide to master this classical art method today!
Mastering Grid Drawing for Realistic Animal Sketches
When it comes to achieving realism in animal sketches, the accuracy of proportions cannot be overstated. One of the most effective techniques to ensure perfect proportions is Grid Drawing. By breaking down complex subjects into smaller, manageable sections, this method simplifies the process and enhances your overall sketching skills. In this detailed guide, we'll delve into the nuances of Grid Drawing and how it can transform your Animal Sketching into stunning works of Realism.
Understanding the Basics of Grid Drawing
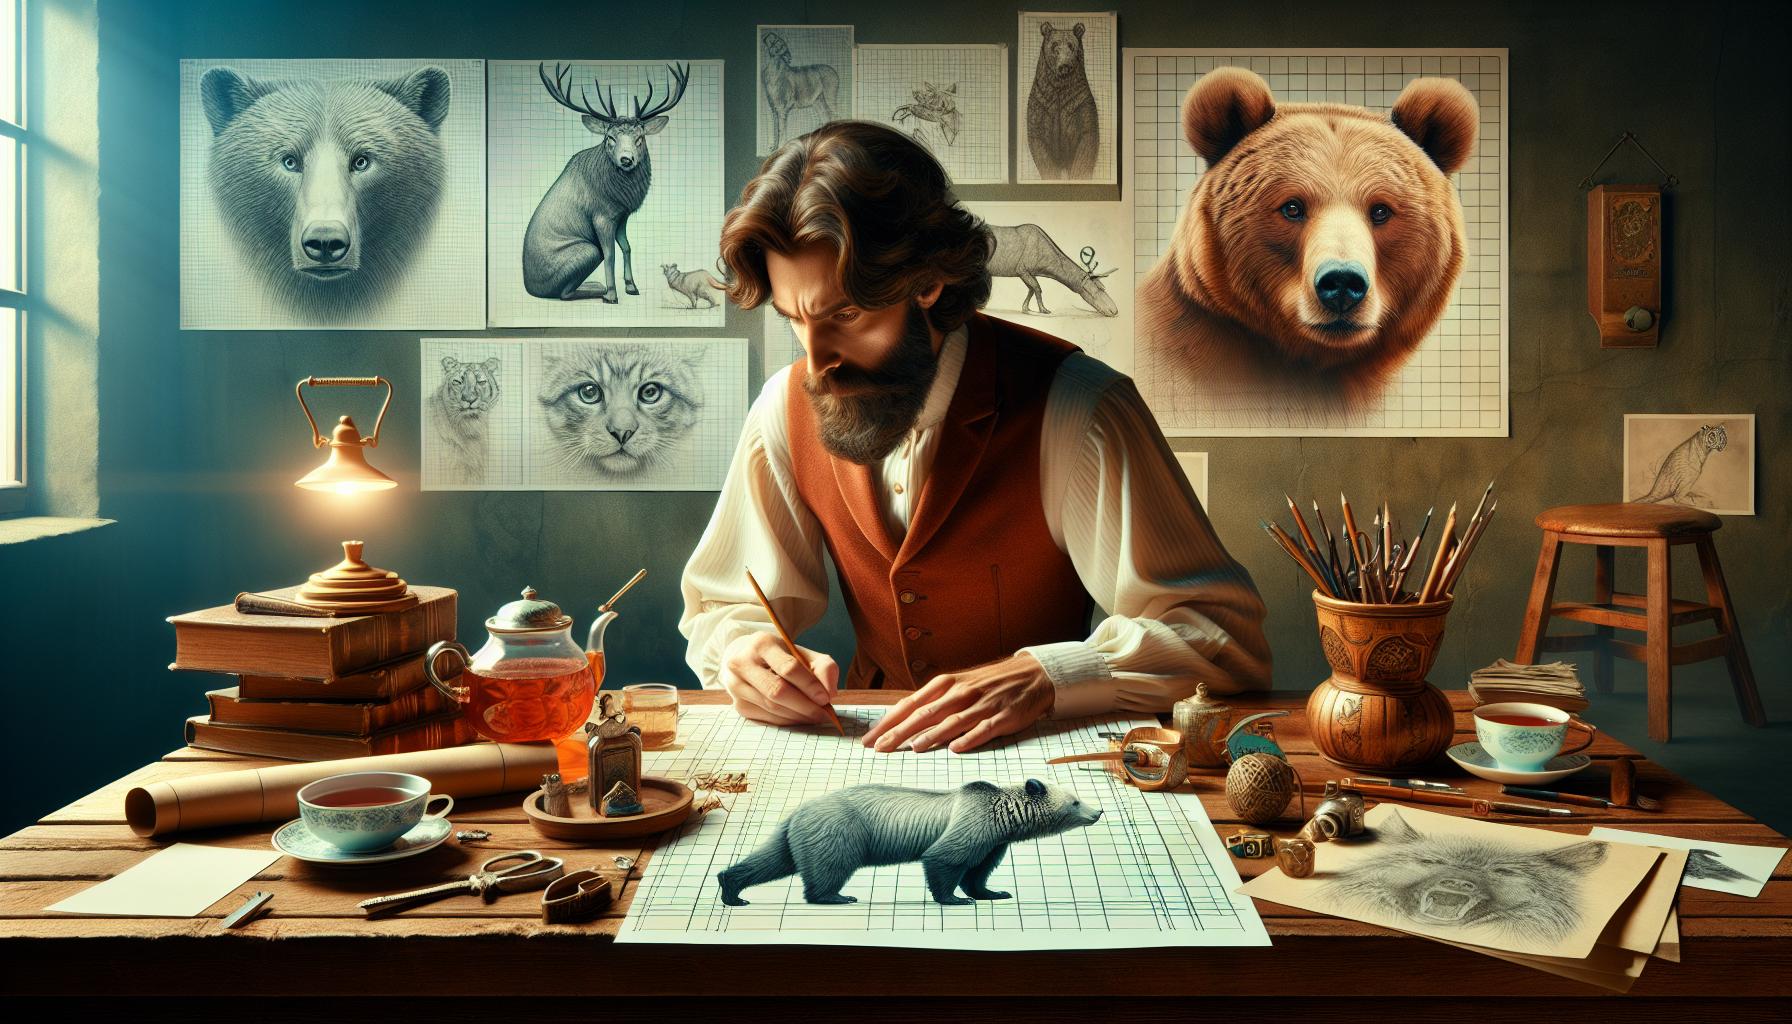
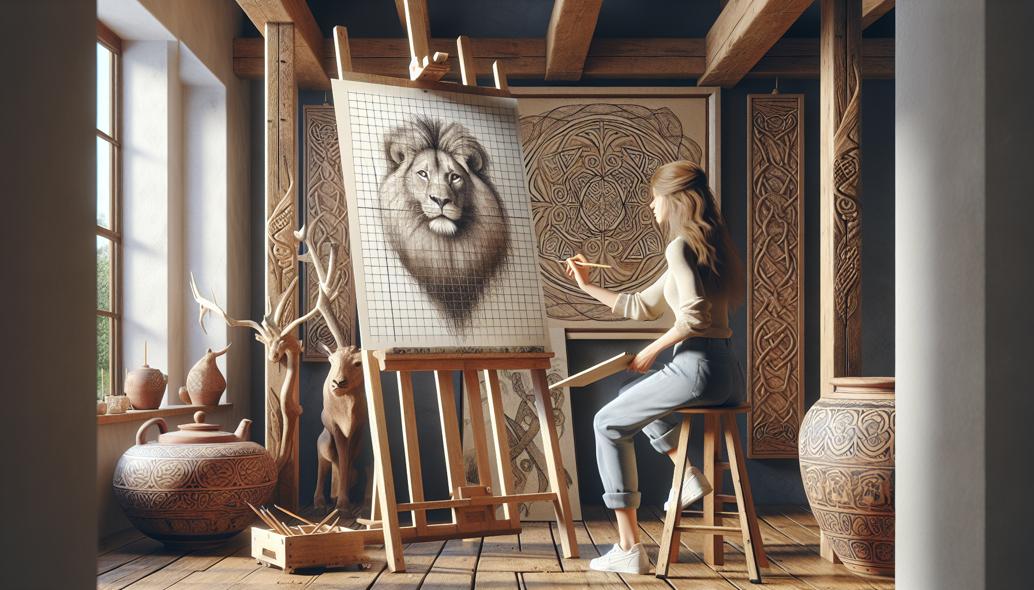
Grid Drawing is a classical technique used by artists to replicate images accurately. By overlaying a grid on both your reference image and drawing surface, you divide the picture into smaller, equal parts. Each square in the grid serves as a guide, making it easier to capture intricate details and correct Proportions.
Preparing Your Tools for Grid Drawing
To get started with Grid Drawing, you'll need:
- A clear, high-resolution reference image
- Ruler
- Pencil
- Graphite paper (optional)
- A drawing surface (paper, canvas, etc.)
Step-by-Step Guide to Grid Drawing for Animal Sketches
- Select Your Reference Image: Choose an image with clear details and strong contrast to make it easier to distinguish different parts of the animal's anatomy. Animals with complex textures like fur and feathers can be particularly challenging but extremely rewarding to sketch.
- Create the Grid on Your Reference Image: Use a ruler to draw a series of equally spaced vertical and horizontal lines on your reference image. The size of the grid squares depends on the level of detail you wish to capture. Smaller squares result in a more detailed sketch.
- Transfer the Grid to Your Drawing Surface: Using the same measurements, replicate the grid on your drawing surface. Ensure that the lines are light and easily erasable to avoid any issues when finalizing your sketch.
Focusing on Accuracy and Proportions
The essence of Grid Drawing is to accurately replicate each square from the reference image onto your drawing surface. Take your time to meticulously transfer the outlines and important details, ensuring that the Proportions are precise. This process requires patience but is critical for achieving Realism in your Animal Sketching.
Advanced Sketching Techniques for Realism
Once the basic outlines are in place, you can begin adding depth, texture, and details using a variety of Sketching Techniques. Here's a breakdown of essential techniques for realistic animal sketches:
- Shading: Use different shading techniques like hatching, cross-hatching, and stippling to add depth and texture. Lightly layer your pencil strokes to create a gradient effect, enhancing the three-dimensionality of your sketch.
- Detailing: Pay attention to small details like fur, feathers, and scales. These are crucial for adding realism to your drawing. Use fine-tipped pencils for intricate lines and a blending stump for smooth transitions between shaded areas.
- Highlighting: Adding highlights can make your sketch pop. Use an eraser to gently lift graphite from the paper, creating highlights on the eyes, nose, and other reflective surfaces.
Common Mistakes and How to Avoid Them
To perfect your Grid Drawing technique, it's important to recognize and avoid common pitfalls:
- Imprecise Grid Lines: Ensure your grid lines are straight and evenly spaced. Any deviation can result in distorted proportions.
- Rushing the Process: Take your time with each square. Rushing can lead to mistakes that are difficult to correct later.
- Overworking the Sketch: While details are important, overworking certain areas can muddy your sketch. Maintain a balance between detailed and less-detailed areas to keep the drawing visually appealing.
Practical Tips from Experts
Here are some expert Art Tips to help you master Grid Drawing for animal sketches:
- Use Graphite Paper: This can help you transfer the grid and basic outlines more efficiently, though it might take away some of the manual effort involved.
- Work in Sections: Focus on one section at a time to avoid feeling overwhelmed by the entire drawing.
- Consistent Lighting: Ensure consistent lighting both for your reference image and drawing surface to avoid inconsistencies in shading and detailing.
Final Thoughts on Grid Drawing in Animal Sketching
Mastering Grid Drawing for Realistic Animal Sketches is both a rewarding and challenging endeavor. This technique, rooted in classical art methods, enables you to produce highly accurate and detailed drawings by focusing on small, manageable sections of the image.
As you practice and refine your skills using the tips and techniques outlined in this guide, you'll find yourself becoming more proficient at capturing the intricate beauty of animals with remarkable Realism. Happy sketching!
For more in-depth articles and Sketching Techniques, stay tuned to our blog and keep exploring the world of art.