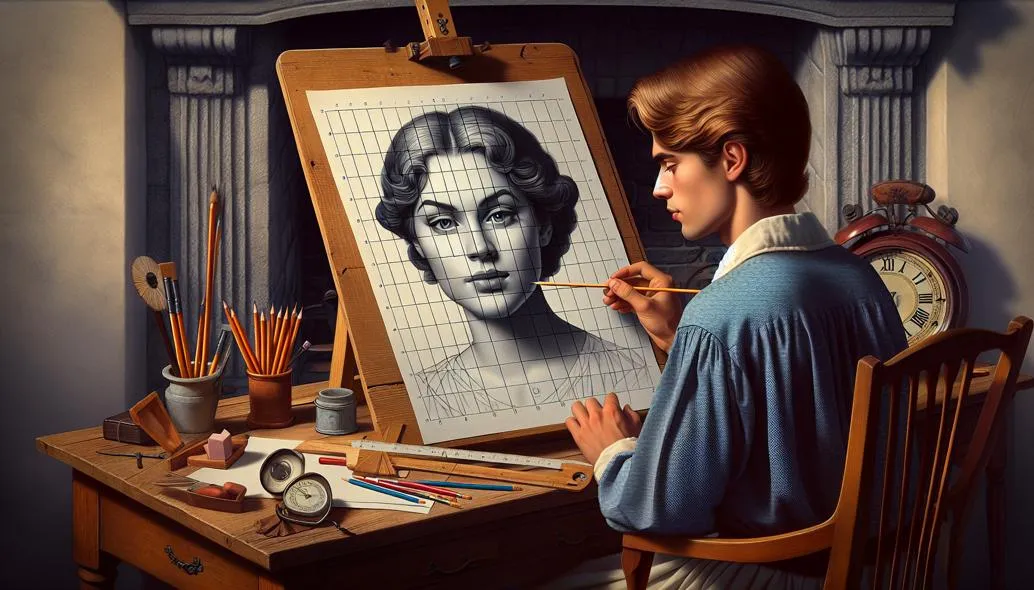
The grid technique provides portrait artists with a systematic approach to achieving accurate proportions. This method transforms the complex challenge of capturing human likeness into a manageable process of careful observation and precise measurement.
Why Portraits Feel Hard (And Why Grids Help)
Portraits punish small placement errors. If the eyes sit a little too high, or the mouth is slightly off-center, the face immediately feels “wrong” — even if your shading is good.
The grid method helps because it gives you reliable checkpoints so you can place landmarks (eyes, nose base, mouth corners, jaw) consistently.
Step 1: Choose a Good Portrait Reference
For beginners, pick:
- clear lighting (one main light source)
- a head that’s large enough to see
- minimal lens distortion (avoid extreme wide-angle selfies)
If the photo is blurry or tiny, you’ll fight the reference instead of learning.
Step 2: Choose a Portrait-Friendly Grid
You don’t need an ultra-fine grid. You need enough checkpoints to place landmarks.
- For most portrait studies: aim for roughly 8–12 squares across the head/face area.
- If you’re overwhelmed, use fewer squares (bigger squares).
- If you keep missing placements, use more squares (smaller squares).
Step 3: Match the Grid Count on Paper
If your reference is 10 squares wide and 12 squares tall, your paper must also be 10 by 12 squares. The square size can change, but the grid count must match or the face will stretch/squash.
Label columns (A, B, C…) and rows (1, 2, 3…) so you don’t copy the wrong square.
Step 4: Block In the Portrait in the Right Order
Beginners often start with “pretty eyes” and then discover the head shape is wrong. A safer order:
- Outer head shape (skull silhouette + jaw)
- Center line of the face (curves on 3/4 views)
- Eye line (not “half the head” in every photo — use what you see)
- Nose base line (bottom of nose)
- Mouth line (corners first)
- Ear placement (often between brow and nose base in many views — but follow the reference)
Keep everything light until the relationships feel right.
Step 5: Use Anchor Points Inside Each Square
In every square you work on:
- mark where an eyelid edge touches a grid line
- mark where the nostril edge crosses a grid line
- mark mouth corners by grid position
Then connect those anchors with simple lines. Details come later.
Step 6: Do “Likeness Checks” Before Shading
These checks catch most portrait issues early:
- Angle check: compare tilts of eyelids, nose, mouth to the grid
- Distance check: compare eye-to-eye distance vs eye-to-nose distance using the grid squares
- Negative shape check: look at the shapes of the spaces (between nose and cheek, under the lower lip, etc.)
Common Beginner Mistakes (And Fixes)
- Eyes too high: stop using generic rules; use the grid to place the eye line exactly as in the reference.
- Perfect symmetry: don’t mirror an eye. Place both independently; faces are naturally asymmetric.
- Detail too early: lock the head shape and landmark positions before eyelashes and pores.
Three-Quarter Views (Quick Tip)
On 3/4 views, the center line curves and features “wrap” around the head. Use the grid to place:
- the near eye slightly larger than the far eye
- the nose overlap over the far cheek edge
- the far mouth corner closer to the face edge than you expect
Once proportions are working, add shading to describe form — but don’t let shading hide placement problems.
Portrait Grid Drawing Questions
For further study, explore grid anatomy tips and grid portrait guide.
Ready to Try the Grid Method?
Put these techniques into practice with our free grid generator tool—trusted by 170,000+ artists worldwide.
Create Your Grid Now →